

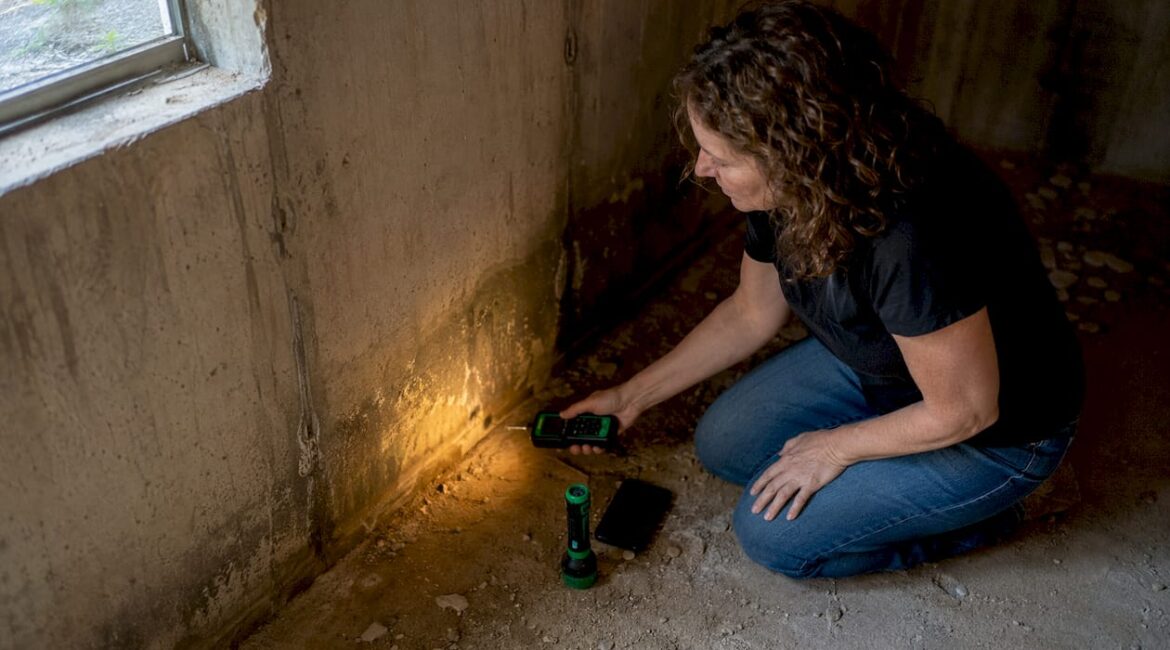
Fix exterior drainage first. That single step, confirmed by the U.S. EPA and Building Science Corporation, solves the majority of basement moisture problems before you ever touch an interior wall. While you wait for a professional inspection, grab a hygrometer, check your basement’s relative humidity (target below 60% RH), and walk your foundation perimeter 12–24 hours after the next heavy rain. Look for wet floor-wall joints, white chalky deposits (efflorescence), or any active seepage. Those observations will shape everything a contractor recommends.
Quick checks to do right now:
- Read your hygrometer: high relative humidity signals a moisture problem worth addressing.
- Inspect after rain (12–24 hours later) for seepage at the floor-wall joint and efflorescence on walls.
- Walk the exterior: does the ground slope away from your foundation, or toward it?
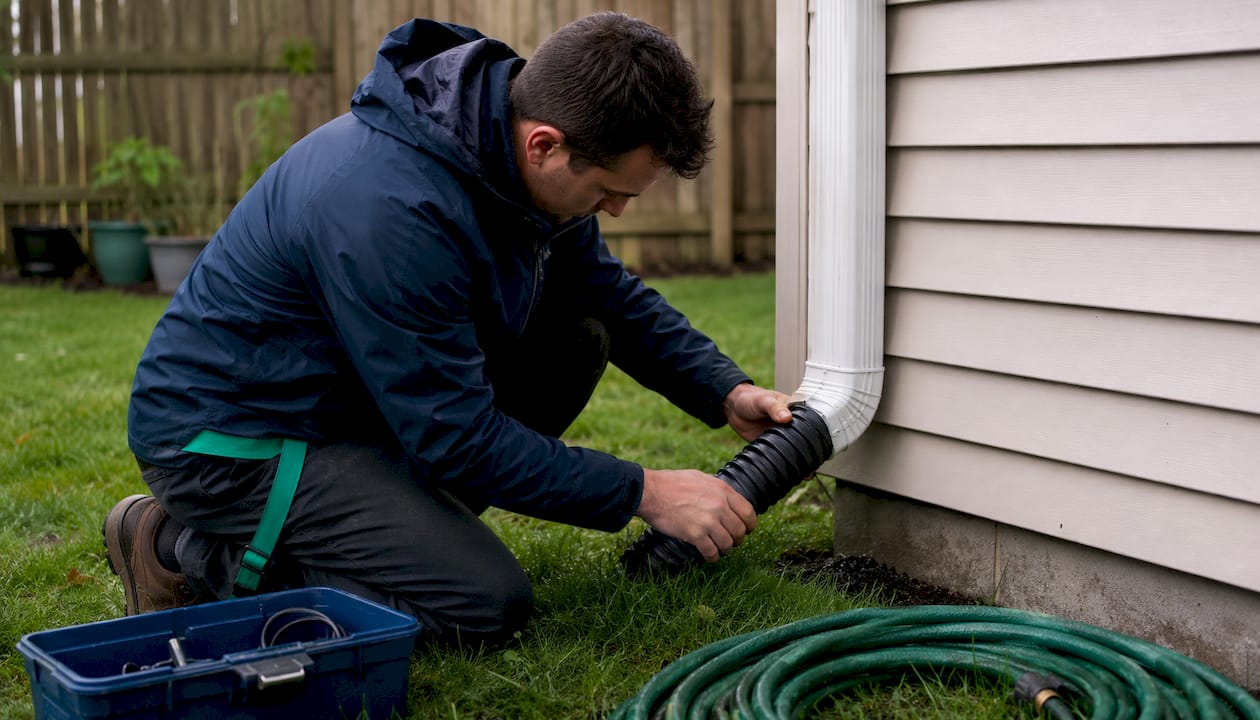
- Check downspouts: are they discharging water at least 4 feet from the wall?
JAG Home Enhancements serves Bucks County homeowners with on-site diagnostics and written remediation plans built around this drainage-first approach.
Table of Contents
- What causes basement moisture in the first place?
- How to check your exterior drainage before calling a contractor
- What interior controls actually do (and their limits)
- Routine maintenance that keeps moisture from coming back
- What to do while you wait for a professional
- Questions to ask before hiring a basement waterproofing contractor
- JAG Home Enhancements: local diagnostics and a plan built for your basement
- Key Takeaways
What causes basement moisture in the first place?
Most basement water problems trace back to one of four sources: exterior surface runoff pooling against the foundation, rising groundwater or a failing sump, moisture diffusing through concrete, or interior sources like a dryer, bathroom, or laundry room venting into the space. Plumbing leaks are less common but worth ruling out early.
The signs are usually visible before the damage gets serious. Watch for seepage at the floor-wall joint, efflorescence on block or poured walls, a persistent musty odor, bubbling floor coverings, or visible mold. Sustained RH above 60% is a reliable early warning: mold growth accelerates at that threshold, and finishing a basement before correcting the source only traps the problem behind drywall.
Interior-only fixes are often a short-term answer. Plastic sheeting stapled to the interior of air-permeable insulation, for example, traps moisture in the wall assembly rather than letting it dry inward. The Building America Solution Center and the IRC both caution against Class I vapor retarders on the interior of below-grade walls for exactly this reason. A dehumidifier running constantly is a symptom, not a solution: if relative humidity stays above 60% despite continuous operation, active infiltration is the likely cause.
How to check your exterior drainage before calling a contractor
A systematic exterior check takes under an hour and gives a contractor the baseline they need to scope the work accurately.
- Measure the slope at your foundation. Use a level and tape: you want the ground to slope noticeably downward away from the wall. Less than that, and rainwater is draining toward you.
- Inspect gutters and downspouts. UMN Extension research notes that a typical residential roof sheds substantial water in a heavy rain. Clogged gutters or a downspout without an extender deposits all of that water right at your foundation.
- Extend downspouts. Extensions should discharge water several feet from the wall; 6–10 feet is better on flat lots.
- Look for low spots or settled soil. Fill and regrade with compactable soil before considering any interior system.
- Note sump-pit behavior. Does the pump run frequently? Does the pit hold standing water between cycles? Record this for your contractor.
Pro Tip: Photograph your foundation perimeter and sump pit 12–24 hours after a heavy rain, then bring those photos to your contractor estimate. A written scope that references your specific conditions will be far more accurate than a generic quote.
When professional help is clearly needed: persistent seepage after you’ve corrected exterior drainage, hydrostatic pressure pushing water through the floor slab, a sump pump that runs continuously or has failed, or any situation requiring exterior excavation and membrane waterproofing. Cost bands vary widely by scope: gutter and downspout corrections are typically a few hundred dollars; interior perimeter drain and sump installation runs into the low thousands; full exterior excavation with membrane waterproofing is the most expensive option and the most durable.
What interior controls actually do (and their limits)
Interior controls manage moisture that has already entered the space. They are most effective as a complement to exterior fixes, not a replacement.
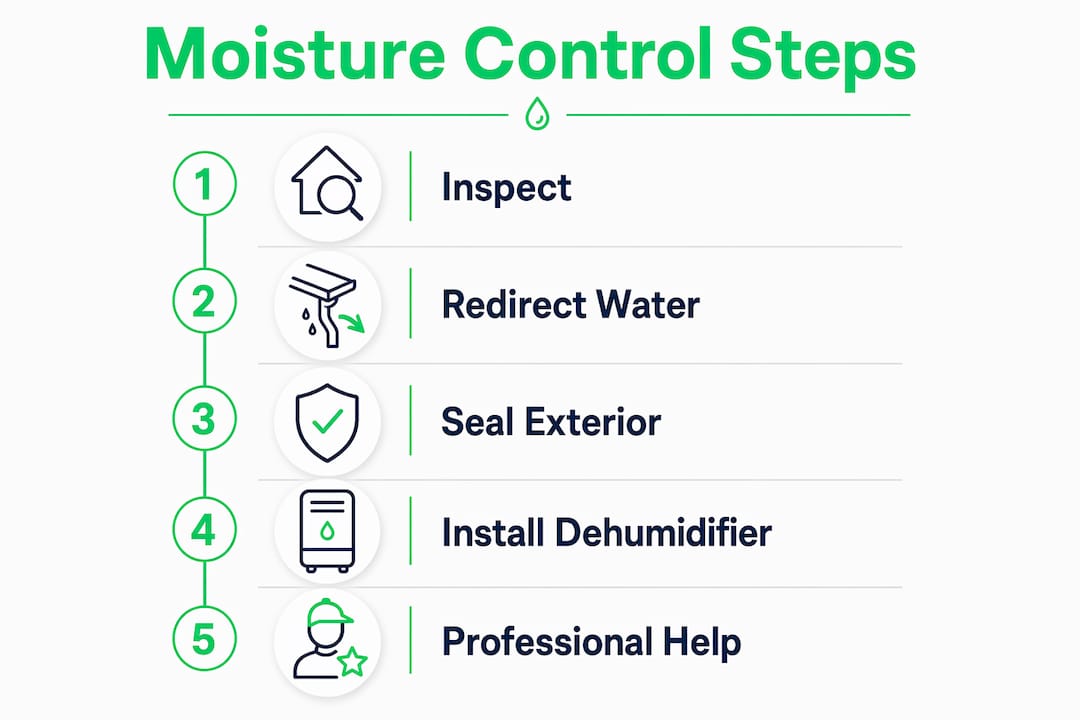
A properly sized dehumidifier keeps finished basement air comfortable and protects stored belongings. Dehumidifiers are sized by square footage and moisture severity: for spaces without a floor drain, a pump model is the practical choice. When uncertain about capacity, choose larger. A sump pump with a battery backup handles groundwater intrusion and is standard in most Bucks County basements. Interior perimeter drainage channels, installed at the floor-wall joint and connected to the sump, are the most effective interior system for concrete masonry walls because they drain block cores completely. None of these systems remove the source of water; they manage what gets through.
For below-grade wall assemblies, ENERGY STAR guidance is clear: impermeable floor coverings installed directly over a damp slab cause bubbling and mold. Test slab moisture before any flooring goes down, and use vapor-tolerant underlayments or subfloor systems when needed.
Routine maintenance that keeps moisture from coming back
Exterior drainage corrections only hold if you maintain them. A simple annual schedule covers most of it:
- Clean gutters twice a year (spring and fall) and after any major storm.
- Check downspout extensions after winter; frost heave can shift them toward the foundation.
- Regrade settled soil along the foundation every few years; soil compacts and settles toward the house over time.
- Test your sump pump before heavy rain season by pouring water into the pit and confirming the float triggers the pump.
- Check the floor-wall joint annually for new cracks or efflorescence.
What to do while you wait for a professional
These steps won’t replace a contractor assessment, but they limit damage and give you better diagnostic data.
Redirect water immediately: extend downspouts with flexible extensions (available at any hardware store) and use a portable dehumidifier to keep RH below 60%… Seal visible cracks in poured concrete walls with hydraulic cement as a temporary measure. Move stored items off the floor and away from exterior walls. Keep interior moisture sources in check: vent the dryer to the outside, run bathroom fans during and after showers, and avoid running a humidifier in the basement. Document everything with photos and hygrometer readings taken at the same time each day.
Questions to ask before hiring a basement waterproofing contractor
The right contractor will welcome these questions. If they can’t answer them clearly, keep looking.
- Are you licensed and insured in Pennsylvania, and will you pull any required permits?
- Will you provide a written scope of work with a cost range, timeline, and warranty terms?
- Do you seal the floor-wall joint as part of the drainage installation?
- Can you show before-and-after photos from similar Bucks County projects?
- What maintenance will I need to do after the work is complete?
- What does your warranty cover, and for how long?
A contractor who offers a written scope, carries proper licensing and insurance, and provides a realistic timeline is one worth trusting with your home.
JAG Home Enhancements: local diagnostics and a plan built for your basement

Bucks County basements have their own character: clay-heavy soils, older foundations, and seasonal rainfall patterns that push water in predictable directions. JAG Home Enhancements brings on-site diagnostics to your door, not a generic checklist. We inspect exterior grade, gutters and downspouts, sump condition, floor-wall joints, visible cracks, and take hygrometer readings, then document everything with photos before we write a single line of scope. You get a written estimate with a cost range, timeline, permit responsibilities, and warranty language, so there are no surprises mid-project.
Our work spans basement finishing and moisture remediation through full interior remodels, and we bring the same attention to detail to every project. Before your visit, gather your hygrometer readings and any rain-event photos you’ve taken. That preparation cuts estimate time and gets you to a clear plan faster. Ready to stop guessing and start with a real assessment? Contact JAG Home Enhancements to schedule your no-obligation on-site inspection.
Key Takeaways
Correcting exterior drainage is the single most effective and cost-efficient step for basement moisture control, and it should precede any interior waterproofing or finishing work.
| Point | Details |
|---|---|
| Drainage comes first | The EPA and Building Science Corporation both identify exterior grading, gutters, and downspouts as the primary defense against basement moisture. |
| 60% RH is the threshold | Sustained relative humidity above 60% accelerates mold growth; a dehumidifier that can’t get below that level signals active infiltration. |
| Avoid interior vapor barriers | Class I vapor retarders on the interior of air-permeable below-grade insulation trap moisture; use permeable assemblies that allow inward drying. |
| Document before the estimate | Photos taken 12–24 hours after heavy rain and hygrometer readings give contractors the data they need for an accurate written scope. |
| JAG Home Enhancements | Provides on-site moisture diagnostics, written scopes with warranties, and drainage-first remediation plans for Bucks County homeowners. |
Recommended
- Why Proper Roofing Ventilation Matters for Homes in Bucks County and Montgomery County – JAG Home Enhancements Roofing Ventilation in Bucks County | JAG Home Enhancements
- How Winter Weather Impacts Your Home’s Exterior — and What Bucks County Homeowners Can Do Now – JAG Home Enhancements How Winter Weather Impacts Your Home’s Exterior in Bucks County, PA | JAG Home Enhancements
- Why Winter Is the Perfect Time to Plan Your Spring Exterior Renovations in Bucks County, PA – JAG Home Enhancements Winter Exterior Renovation Planning in Bucks County, PA | JAG Home Enhancements
- Preparing Your Home’s Exterior for Spring After a Bucks County Winter – JAG Home Enhancements Spring Exterior Home Maintenance in Bucks County, PA | JAG Home Enhancements