

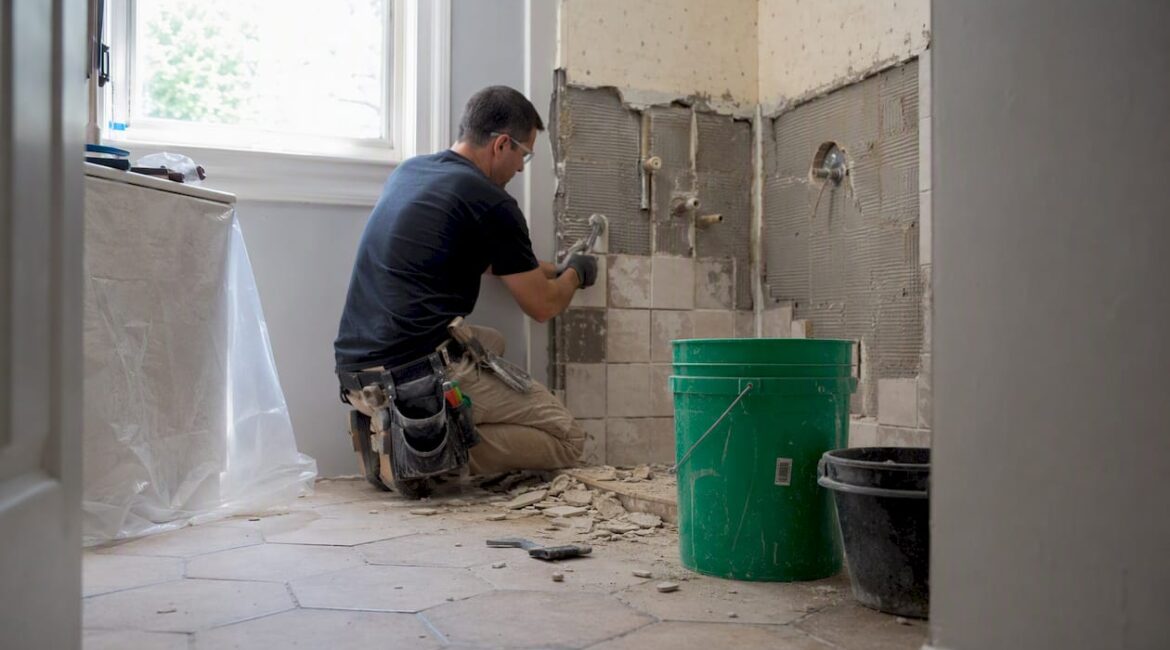
A bathroom remodel takes 4–8 weeks total for a small cosmetic refresh, 6–12 weeks for a mid-range project, and 10–18 weeks or more for a full gut renovation — and those numbers include both active construction and the pre-construction work that most homeowners forget to count. Active on-site work is shorter: roughly 2–4 weeks for small updates, 3–6 weeks for mid-range remodels, and 6–12 weeks for full gut or primary bath projects with layout changes. On a 6-week active construction plan, that means building in 1–2 extra weeks before you commit to a hard completion date.
Here is a quick reference for the three common scopes:
- Small/cosmetic refresh: 2–4 weeks active construction, 4–8 weeks total project time
- Mid-range remodel (same footprint, remove and replace): 3–6 weeks active construction, 6–12 weeks total
- Full gut/primary bath with layout changes: 6–12+ weeks active construction, 10–18+ weeks total
Key Takeaways
A bathroom remodel runs 4–18 weeks total depending on scope, and the pre-construction phase — design, ordering, and permits — typically takes as long as active construction for mid-range and larger projects.
| Point | Details |
|---|---|
| Timeline ranges by scope | Small: 4–8 weeks total; mid-range: 6–12 weeks; full gut: 10–18+ weeks total. |
| Pre-construction drives the schedule | Ordering long-lead items at contract signing prevents mid-project stalls that add 2–6 weeks. |
| Tile is the critical-path trade | Tile setting and cure take 4–6 days and control when glass, countertops, and fixtures can proceed. |
| Add a 10–20% time buffer | On a 6-week active construction plan, build in 1–2 extra weeks before committing to a hard end date. |
| Jaghomesnow | Provides a written week-by-week schedule at contract signing and pre-books all trades before demo begins. |
Table of Contents
- What are the three phases of a bathroom renovation timeline?
- What do you need to complete before demo day?
- How does the construction phase break down week by week?
- What happens after construction ends?
- Sample schedules you can copy into your calendar
- What causes bathroom remodel delays and how do you prevent them?
- How do you manage the remodel schedule like a pro?
- How does Jaghomesnow schedule and manage bathroom projects?
- What homeowners most often underestimate about the remodel schedule
- Jaghomesnow takes the guesswork out of your bathroom schedule
- Sources
What are the three phases of a bathroom renovation timeline?
Every bathroom renovation schedule, regardless of scope, moves through three phases: pre-construction, construction, and post-construction. Understanding where time actually goes in each phase is what separates homeowners who finish on schedule from those who are still waiting on a vanity six weeks after demo day.
Pre-construction covers everything before a single tile comes off the wall: design decisions, material selections, contractor quotes, contract signing, permit applications, and ordering long-lead items. This phase typically runs 4–6 weeks for a standard project, and it often surprises homeowners because it feels like nothing is happening. In reality, it is the phase where most schedule problems are either prevented or created.
Construction is the active, on-site phase. Trades come in sequence — demo, rough-in plumbing and electrical, framing, waterproofing, tile, drywall, paint, fixtures, and trim. This is the phase most people picture when they think about how long a bathroom remodel takes.
Post-construction is shorter but not optional: punch list review, final inspection, cleaning, and handover. Plan 3–5 days for this phase on a typical project, longer if inspection scheduling in your municipality runs slow.
- Pre-construction: 4–6 weeks (design, ordering, permits, contract)
- Construction: 2–12 weeks depending on scope
- Post-construction: 3–7 days (punch list, inspection, handover)
The key insight here is that homeowner decision speed is the single most controllable factor in pre-construction timing. The faster you finalize selections, the sooner materials can be ordered and permits submitted.
Pro Tip: Ask your contractor for a written schedule that shows all three phases before you sign the contract. If they can only give you a construction-phase schedule, that is a red flag — it means they have not thought through ordering and permitting yet.
What do you need to complete before demo day?
Pre-construction is where your bathroom renovation schedule is won or lost. Every item below needs to be resolved before demolition starts, because a missing decision mid-project is the fastest way to add two weeks of idle time.
Pre-construction checklist
- Finalize the design: layout, fixture placement, tile patterns, and any plumbing or electrical moves
- Select and confirm all materials: tile, vanity, countertop, faucets, shower glass, lighting, mirrors, and accessories
- Get at least two contractor quotes and review the scope of work in writing
- Sign the contract and pay the deposit
- Submit permit applications (structural, plumbing, and electrical permits as required by your municipality)
- Place orders for all long-lead items before or immediately after contract signing
Material lead times that control your start date
One of the most common reasons a bathroom remodel start date slips is that materials are not on site when demo is ready to begin. Material lead times can add 2–6 weeks or more if items are not ordered early. Here are typical ranges:
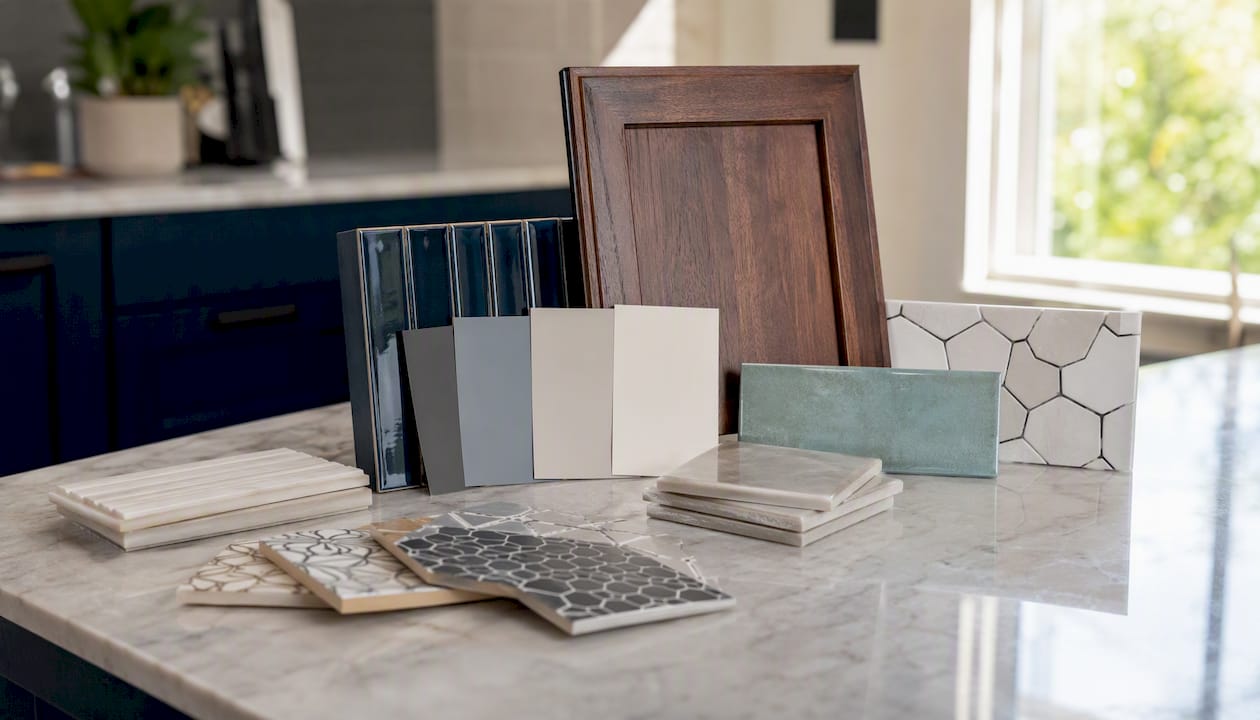
Order your vanity and specialty tile promptly at contract signing. Frameless shower glass is measured after tile is set and cannot be ordered initially, but you can prepare vendor arrangements early.
On permits: most municipalities process residential bathroom permits in 1–4 weeks, though some jurisdictions run longer. Submit your permit application in parallel with ordering materials, not after. A good contractor handles this for you and tracks the permit status so it does not become a surprise delay. If your project involves moving plumbing or electrical, budget toward the longer end of that range and ask your local building department for a realistic estimate.
Pro Tip: A typical start window runs 3–6 weeks after contract signing in most markets. If a contractor promises to start next week with no materials ordered and no permit pulled, ask how they plan to handle the gap.
How does the construction phase break down week by week?
Active construction on a mid-range bathroom remodel generally follows a trade sequence that cannot be rearranged without creating problems. Here is a realistic week-by-week breakdown for a typical mid-range project:
- Week 1: Demolition. Existing fixtures, tile, drywall, and flooring come out. This usually takes 1–2 days for a standard bathroom. Hidden damage (rot, mold, old plumbing) is discovered here, so budget time for assessment before rough-in begins.
- Week 1–2: Rough-in plumbing and electrical. Plumbers relocate or extend supply and drain lines; electricians run new circuits, GFCI outlets, and exhaust fan wiring. Rough-in typically takes 2–4 days depending on scope. A rough-in inspection is required before walls close.
- Week 2: Rough-in inspection. Your municipality schedules an inspector to review rough plumbing and electrical before any walls are closed. Typical scheduling waits run 1–3 business days; some jurisdictions are faster. Do not close walls before this inspection passes.
- Week 2–3: Framing, backer board, and waterproofing. Any new framing goes up, cement backer board is installed in wet areas, and waterproof membrane is applied in the shower. Waterproof membranes typically need 24–48 hours to cure before tile can begin.
- Week 3–4: Tile installation and cure. Tile setting, grout, and cure commonly occupy 4–6 days for a standard bathroom, and larger-format tile or complex patterns add time. Thinset needs 24 hours before grouting; grout needs 24–72 hours before caulk and sealing; caulk needs 24 hours before water exposure. This is often the critical-path activity that controls when subsequent trades can proceed.
- Week 4–5: Drywall, paint, and trim. Non-wet-area drywall is hung and finished, primer and paint go on, and door and window trim is reinstalled or replaced. Paint typically needs one full day to dry between coats.
- Week 5–6: Fixture installation and hookups. Vanity, toilet, shower fixtures, mirrors, lighting, and accessories are installed. Plumber and electrician return for final connections. Frameless shower glass is installed after tile is fully cured.
- Week 6: Final inspection and punch list. A final inspection covers plumbing, electrical, and any structural work. After sign-off, the contractor walks through the punch list with you.
A few cure-time notes worth keeping on your schedule: thinset mortar needs a full 24 hours before grout is applied; grout needs 24–72 hours before caulk; and silicone caulk needs at least 24 hours before the shower sees water. Rushing any of these steps creates failures that cost more to fix than the time saved.
Full-bath projects commonly require 6–12 weeks of on-site work when layout changes are involved, with the single biggest schedule risk being material lead times that create mid-project stalls. When layout is unchanged and all selections are finalized before demo, some remodelers complete standard full-bath projects in 3–4 weeks of construction.
What happens after construction ends?
Post-construction is brief but matters for both safety and satisfaction. Here is what a solid final walkthrough and handover process looks like.
Punch list by priority
- Safety items (fix immediately before use): GFCI outlets functioning, exhaust fan operational, no exposed wiring, no water leaks at supply or drain connections, shower pan watertight
- Functional items (fix within 1–2 days): toilet flushes and fills correctly, all faucets operate without drips, shower valve temperature is calibrated, doors and drawers open and close properly
- Cosmetic items (fix within the warranty window): grout lines consistent, caulk lines clean, paint touch-ups complete, trim gaps filled, fixture finishes free of scratches
Final inspection and handover
The final inspection covers all permitted work: plumbing, electrical, and any structural changes. Your contractor schedules this with the municipality after all work is complete. Scheduling typically takes 1–3 business days, and the inspector may request minor corrections before issuing final approval. Do not use the shower or run water through new drain connections until the inspector has signed off.
After inspection, your contractor should provide you with warranty documentation, care instructions for new tile and grout, and a clear process for reporting any items that surface in the first 30 days.
Pro Tip: Walk through the bathroom with your contractor before the final inspection, not after. Catching cosmetic and functional items early means corrections happen before the inspector arrives, not as a second visit.
First-week checks after handover: look for any grout cracking at corners (should be caulked, not grouted), verify the exhaust fan vents to the exterior, and run the shower for 10 minutes to confirm no leaks at the pan or supply connections. Grout sealer, if applied, needs 48–72 hours before the surface sees regular water exposure.
Sample schedules you can copy into your calendar
These three sample schedules cover the most common project scopes. Pick the closest match, adjust the start date, and share it with your contractor to align expectations.
Small cosmetic refresh (4–8 weeks total)
Scope: new vanity, toilet, faucets, mirror, paint, and light fixture. No tile work, no plumbing moves.
- Weeks 1–2: Design decisions, material selections, contractor quote, contract signed, materials ordered
- Week 3: Materials arrive, permit confirmed (if required for electrical)
- Week 4: Demo and installation (1–3 days active work)
- Week 5: Touch-ups, punch list, final review
Bathroom downtime: 1–3 days. Temporary plan: use a second bathroom or coordinate with a neighbor for 2–3 days.
Weekly checklist:
- Week 1: Confirm all selections, place orders
- Week 3: Verify delivery dates, confirm contractor start date
- Week 4: Be available for decisions on day 1 of work
Mid-range remodel (6–12 weeks total)
Scope: full remove-and-replace, same footprint. New tile, vanity, toilet, shower fixtures, and lighting. No layout changes.
- Weeks 1–4: Design, selections, quotes, contract, permit application, materials ordered
- Weeks 4–5: Materials arrive, permit approved
- Weeks 5–10: Active construction (demo, rough-in, inspection, tile, drywall, fixtures)
- Weeks 10–11: Punch list, final inspection, handover
Bathroom downtime: 3–6 weeks. Temporary plan: designate a second bathroom as primary, or arrange a short-term gym membership for shower access during tile cure weeks.
Weekly checklist:
- Week 1: Sign contract, place vanity and tile orders immediately
- Week 3: Confirm permit status with contractor
- Week 5: Confirm all materials on site before demo begins
- Week 8: Schedule frameless glass measurement after tile is set
- Week 10: Walk through punch list with contractor
Full gut/primary bath with layout changes (10–18+ weeks total)
Scope: complete gut, new layout, plumbing moves, custom tile, frameless glass enclosure, heated floor.
- Weeks 1–6: Design development, structural review, permit applications (plumbing, electrical, structural), all materials ordered
- Weeks 6–8: Permit approval, materials staged
- Weeks 8–18: Active construction (demo, structural, rough-in, inspections, waterproofing, tile, drywall, fixtures, glass)
- Weeks 18–19: Punch list, final inspection, handover
Bathroom downtime: 6–12 weeks. Temporary plan: this scope almost always requires a second full bathroom in the home. If none exists, budget for a short-term rental or plan the project around a period when you can stay with family.
Weekly checklist:
- Week 1: Finalize layout with contractor, submit permit applications
- Week 4: Confirm custom vanity and specialty tile delivery windows
- Week 8: Confirm all rough-in materials on site before demo
- Week 12: Schedule rough-in inspection, confirm glass vendor
- Week 16: Walk through tile and waterproofing before drywall closes walls
What causes bathroom remodel delays and how do you prevent them?
Most schedule overruns come from a short list of predictable causes. Knowing them in advance lets you take specific steps before they become problems.
- Material lead times: Backordered vanities, specialty tile, and custom glass are the most common reason projects stall mid-construction. Mitigation: order everything at contract signing, not after demo. Confirm delivery dates in writing before scheduling demo day.
- Permit backlogs: Municipal review can add 1–4 weeks or more depending on your jurisdiction and the time of year. Mitigation: submit permit applications in parallel with ordering, not sequentially. Ask your building department for a realistic review timeline at submission.
- Hidden damage such as rot, mold, and outdated plumbing discovered during demo can add days to weeks. EPA guidance recommends professional remediation for larger mold problems and provides specific safety steps for home cleanup; discovering mold during demo requires safe handling before any other work continues. Mitigation: build a contingency reserve of 10–20% of both budget and time. On a 6-week active construction plan, that means 1–2 weeks of buffer.
- Change orders: Changing selections or scope after demo begins is one of the most expensive and time-consuming decisions a homeowner can make. A new tile choice mid-project can add 2 weeks if the replacement needs to be ordered. Mitigation: finalize every selection before demo day. If you are unsure about a choice, resolve it during pre-construction, not during active work.
- Contractor backlog: Reputable contractors often have their schedules booked weeks in advance. If your preferred contractor cannot start within your target window, starting earlier in the planning process gives you more options. Scheduling around holidays and peak summer months also helps; late winter and early spring often offer shorter wait times.
On a 10-week project, that means 1–2 extra weeks. Tell your contractor you expect the project to finish by week 10 but have planned through week 12. That framing keeps everyone honest without creating false urgency.*
Seasonal scheduling matters more than most homeowners realize. Planning a start date in January or February often means faster permit processing and better contractor availability than a June start. If you are also considering exterior work, planning interior projects in winter frees up your contractor’s schedule for outdoor work in spring.
How do you manage the remodel schedule like a pro?
Managing a bathroom renovation schedule well comes down to three things: asking the right questions before you sign, setting payment milestones tied to real deliverables, and coordinating trades so no one sits idle waiting for the previous trade to finish.
Contractor interview checklist
- How many active projects will you be running during my project?
- Who is my single point of contact for daily questions?
- Can you provide a written week-by-week schedule before we sign?
- How do you handle permit applications and inspection scheduling?
- What is your process when hidden damage is discovered during demo?
- How do you handle material delays or backorders?
- What are your payment milestones and what triggers each one?
Red flags in a contractor’s schedule: no mention of permit timing, no allowance for inspection waits, and no cure-time gaps between tile and fixture installation. A schedule that shows tile on Monday and fixtures on Tuesday is not realistic.
Suggested payment milestones
- Deposit at contract signing (typically 10–30% of total project cost)
- Payment at materials delivery confirmation (all long-lead items on site)
- Payment at rough-in inspection pass
- Payment at tile completion and cure
- Final payment at punch list sign-off and final inspection approval
Tying payments to observable deliverables protects you and gives your contractor clear targets. Never pay the final balance before the punch list is complete and the final inspection has passed.
Trade coordination sequence
Trades must follow a specific order, and idle days between them add up fast. Here is the sequence and why it matters:
- Demo crew clears the space (plumber and electrician cannot start until demo is complete)
- Plumber does rough-in (electrician can often work in parallel if the space allows)
- Rough-in inspection passes (walls cannot close until this happens)
- Framing and backer board (tile setter cannot start until substrate is ready)
- Waterproofing and cure (tile cannot start until membrane cures)
- Tile setter completes floor and walls, grout cures (glass vendor measures after tile is set)
- Drywall and paint (can overlap with tile in non-wet areas)
- Plumber and electrician return for final connections (after drywall is painted)
- Glass installation (after tile is fully cured)
- Final inspection
Booking each trade in advance, with a confirmed start date tied to the previous trade’s completion, is what separates a 5-week project from a 9-week one. A good contractor does this automatically; if yours does not, ask for a written trade schedule before demo begins. For a deeper look at how to vet a contractor’s scheduling process, the contractor selection guide for Bucks County homeowners covers the right questions to ask before signing.
For projects involving a tub-to-shower conversion, plumbing relocation adds a step between demo and rough-in that can extend the rough-in phase by 1–2 days. See the tub-to-shower conversion cost guide for a breakdown of what that scope adds to the timeline and budget.
How does Jaghomesnow schedule and manage bathroom projects?
At Jaghomesnow, the bathroom renovation schedule starts before a single material is ordered. Here is how the process typically works for homeowners in Bucks County and the surrounding area:
- Discovery and scope: We walk the space with you, assess existing plumbing and electrical conditions, and identify any structural concerns before design begins. This step prevents surprises during demo.
- Design and selections: We help you finalize all material selections during the design phase, not after contract signing. That means vanities, tile, fixtures, and glass are chosen and ordered before we schedule a demo date.
- Permit applications: We handle permit submissions and track review status with your local building department, running permitting in parallel with material ordering so neither waits on the other.
- Trade scheduling: We pre-book plumbers, electricians, and tile setters in sequence before demo begins, with confirmed start dates tied to each prior trade’s completion. No idle days between trades.
- Communication: You get a written week-by-week schedule at contract signing and a single point of contact throughout the project. If something changes, you hear about it the same day.
A typical Jaghomesnow mid-range bathroom project in Bucks County runs 4–6 weeks of active construction with a total project timeline of 8–12 weeks from first consultation to final walkthrough. Full gut projects with layout changes run 12–18 weeks total. Those ranges align closely with the sample timelines in this guide, and they assume all selections are finalized before demo day.
If you are planning a bathroom remodel in Bucks County and want a realistic timeline estimate for your specific scope, reach out for a consultation. We will walk through your project, identify the long-lead items, and give you a written schedule you can plan around.
What homeowners most often underestimate about the remodel schedule
The single biggest scheduling lever you control is how fast you make decisions. Not the contractor’s crew size, not the permit office, not the tile setter’s availability. Your speed on selections.
Most homeowners assume that once they sign the contract, the contractor takes over and the schedule runs itself. What actually happens is that the contractor is ready to order materials the day after signing, and if you have not finalized your vanity choice, the order does not go in. Every day of indecision on a semi-custom vanity with a 6-week lead time is a day added to your start date.
The practical fix is straightforward: treat design sign-off as a hard deadline, not a soft one. Walk into your contractor meeting with your tile, vanity, fixtures, and countertop already selected, or commit to finalizing them within 48 hours of signing. That single habit buys back more calendar time than any other decision you will make during the project.
Order long-lead items at design sign-off, not after. That is the one action that most reliably keeps a bathroom renovation on schedule.
Jaghomesnow takes the guesswork out of your bathroom schedule
Planning a bathroom remodel is straightforward when you have a contractor who handles the scheduling details from day one. Jaghomesnow gives Bucks County homeowners a written week-by-week schedule at contract signing, pre-books all trades before demo begins, and manages permit applications in parallel with material ordering so nothing waits on anything else.

The result is a project that moves predictably: materials arrive before demo day, inspections are scheduled in advance, and you always know what is happening next. We handle the coordination so you can focus on the decisions that actually need your input, like choosing the tile that will look great for the next 20 years.
Ready to get a realistic timeline for your bathroom project? Request a consultation with Jaghomesnow and we will walk through your scope, identify your long-lead items, and give you a written schedule you can plan your life around.
Sources
These are the primary sources used for timeline ranges, permitting guidance, and remediation safety in this guide. Consult your local building department directly for permit processing times specific to your municipality, since review windows vary significantly by jurisdiction and project type.
- Bathroom Remodel Timeline — What to Expect (Week-by-Week) | Thornapple
- Bathroom Remodel Timeline 2026: Week-by-Week Guide
- How Long Does it Take to Remodel a Bathroom? – Angi
- How Long Does a Bathroom Remodel Take? – Ensotile Bathroom & Kitchen Remodeling
- Bathroom Remodel Timeline 2026: How Long It Actually Takes (Week by Week) – Plumbing Sniper
- Mold cleanup your home – EPA
When in doubt about permit requirements for your specific project, contact your local building department before demo begins. Permit requirements vary by municipality, and starting work without the right permits can result in stop-work orders that add weeks to your schedule.