

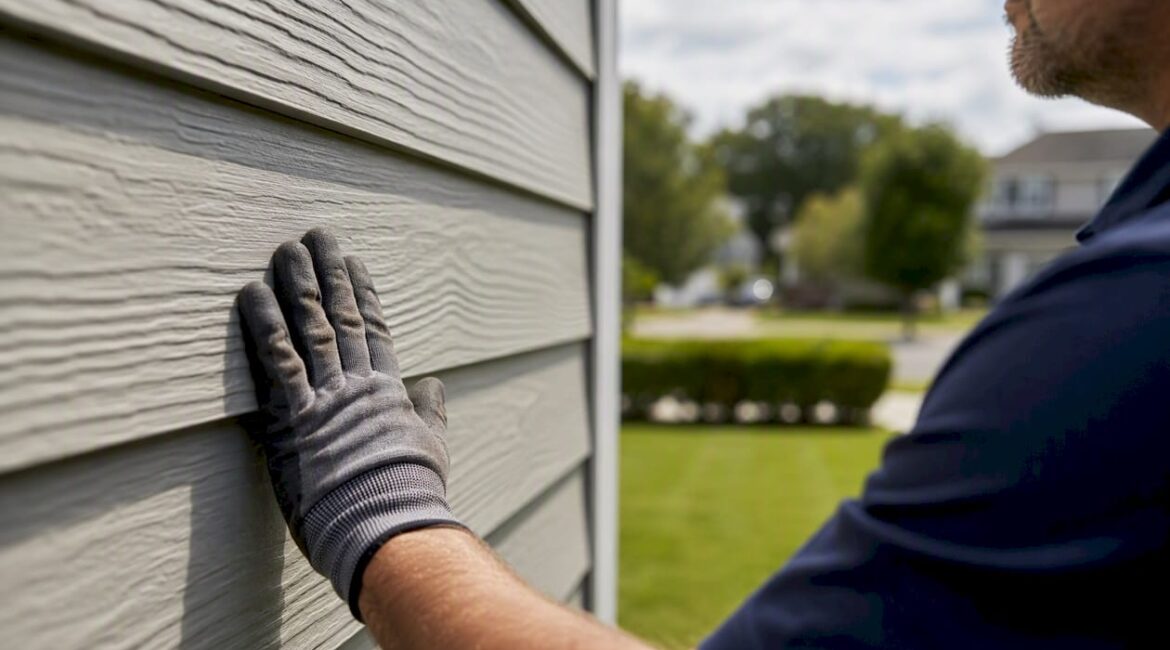
Inspect your fiber cement siding every spring and fall, clean it regularly throughout the year, and keep it at least 6 inches above finished grade and roughly 2 inches from roofing or decks. Those four habits, followed consistently, are what separate siding that looks great for 30 years from siding that needs a costly overhaul in 10.
Manufacturers like James Hardie and Nichiha both publish detailed maintenance guidance that homeowners should follow to preserve finish warranties and structural performance. On the standards side, caulks used at joints should comply with ASTM C920 (elastomeric sealants) or ASTM C834 (latex sealants) to stay permanently flexible through seasonal movement. Miss those clearances or skip the caulk, and moisture finds a way in.
- Inspect twice a year in spring and fall
- Clean regularly throughout the year; coastal or high-pollution areas may need cleaning more often
- Maintain 6-inch clearance from grade and 2-inch clearance from roofs/decks
- Use only ASTM C920-compliant flexible caulk at joints and transitions
- Avoid high-pressure washing; if necessary, keep pressure low to prevent damage
Key Takeaways
Consistent fiber cement siding maintenance — twice-yearly inspections, annual cleaning, ASTM-compliant caulk, and correct clearances — prevents the moisture intrusion that causes most long-term failures.
| Point | Details |
|---|---|
| Inspection cadence | Inspect every spring and fall; schedule a professional inspection every 2–3 years. |
| Cleaning frequency | Wash siding every 6–12 months with a low-pressure hose and soft brush; more often in coastal or high-pollution areas. |
| Pressure-washer limit | Never exceed 1,500 PSI; keep the nozzle at least 6 feet away and use a wide fan tip. |
| Critical clearances | Maintain at least 6 inches from finished grade and approximately 2 inches from roofs and decks at all times. |
| Jaghomesnow | JAG Home Enhancements provides inspections, repairs, flashing work, and repainting for Bucks County homeowners. |
Table of Contents
- What does fiber cement siding maintenance actually require each season?
- How to clean fiber cement siding safely and effectively
- How do you inspect fiber cement siding and spot common problems?
- DIY repairs you can handle confidently
- When should you repaint fiber cement siding?
- How do you prevent moisture damage, mold, and paint failure?
- When should you hire a professional siding contractor?
- Jaghomesnow handles siding inspections, repairs, and repainting in Bucks County
- Sources
What does fiber cement siding maintenance actually require each season?
A seasonal schedule turns vague “keep up with your siding” advice into tasks you can put on a calendar. Here is what each season demands.
Spring
Spring is your most important inspection window. Winter freeze-thaw cycles stress caulk joints, fasteners, and paint, so walk the full perimeter after temperatures stabilize. Look for cracked or separated caulk, loose or backed-out fasteners, chipped paint, and any staining that suggests water sat behind the siding. Clean gutters and downspouts so spring rains drain away from the foundation rather than splashing back onto the siding base.
Summer
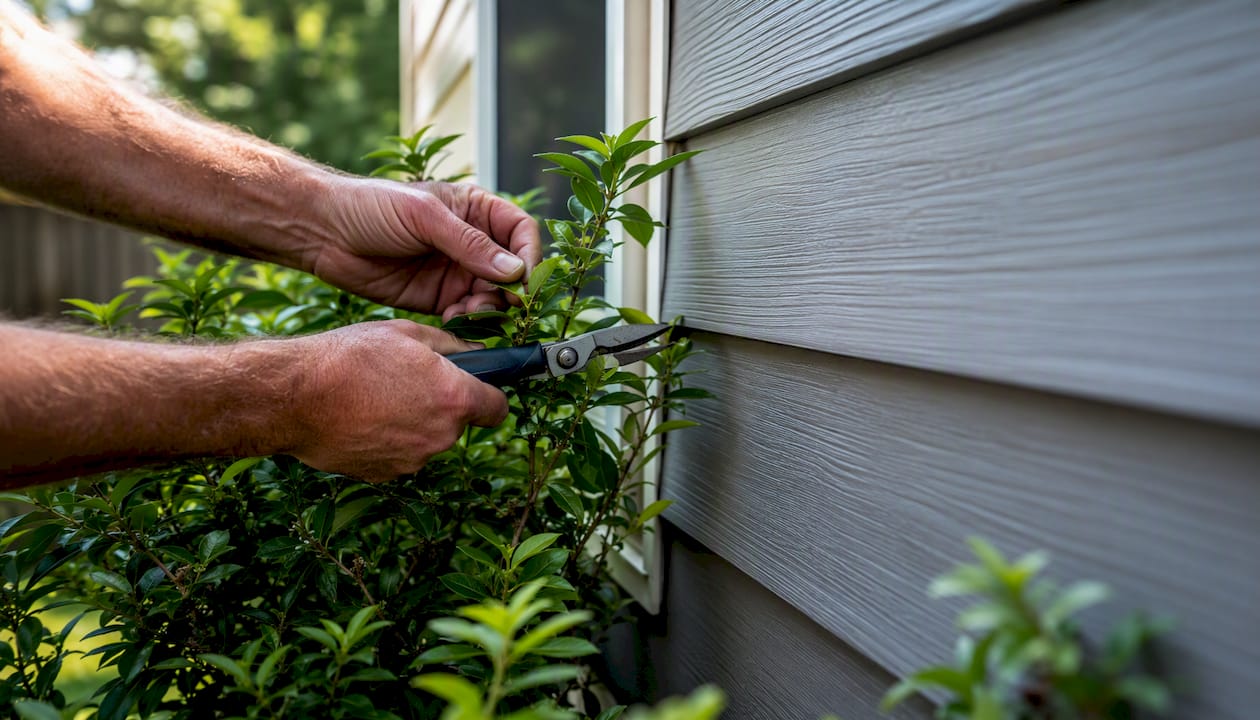
Summer is the repair window. Touch up any caulk failures you found in spring, address paint chips before they let moisture in, and trim back vegetation that has grown into contact with the siding. Check irrigation systems and adjust sprinkler heads so they are not wetting the siding on every cycle. Wet siding that never fully dries is the most common cause of premature paint failure and biological growth.
Fall
Before the first hard freeze, confirm that drainage around the foundation still directs water away from the house. Re-check caulk at all joints and transitions, because a small gap that was fine in summer can admit water that freezes and widens the crack. Clear any debris from the siding base, and verify that grade clearances are still correct if you added mulch or topsoil during the growing season.
Winter
Avoid piling snow against the siding base, and keep deicing salts away from the lower courses. Salt accelerates paint degradation and can etch the surface over time. Check that gutters and downspouts are not directing ice melt directly onto the siding.
Annual and multi-year tasks
| Task | Frequency | Notes |
|---|---|---|
| Full exterior wash | Every 6–12 months | Low-pressure hose and soft brush; more often near coast or heavy traffic |
| Caulk inspection and touch-up | Every spring | Replace any cracked, shrunk, or separated beads with ASTM C920-compliant sealant |
| Fastener check | Annually | Look for backing-out, corrosion, or missing fasteners |
| Flashing and WRB inspection | Annually | Check for gaps, rust, or separation at windows, doors, and roof transitions |
| Professional inspection | Every 2–3 years | Moisture meter checks, fastener audit, documented repair plan |
Inspecting every spring and fall and scheduling a professional review every 2–3 years catches problems before they become structural. A professional maintenance visit for a single-story home typically runs a few hundred dollars and takes a half-day; a full inspection with a written report may run higher depending on scope and access.
Pro Tip: Set a calendar reminder for the first weekend of May and the first weekend of October. Consistent timing means you never skip a cycle because “it didn’t seem that bad this year.”
How to clean fiber cement siding safely and effectively
James Hardie recommends cleaning once or twice a year with low-pressure water and a soft-bristled brush, and avoiding harsh chemicals unless the manufacturer’s own guidance permits them. That recommendation covers the vast majority of cleaning situations. Here is how to execute it correctly.
Step-by-step cleaning procedure
- Gather your supplies: garden hose with a spray nozzle, soft-bristled nonmetal brush, bucket, mild dish soap or oxygen-based cleaner, eye protection, and gloves.
- Wet the entire section you plan to clean with a gentle rinse from the hose. This prevents soap from drying on a warm, dry surface.
- Mix your cleaner. For light dirt, plain water is enough. For grease or exhaust staining, a few drops of mild dish soap in a bucket of water works well. For mildew or algae, use an oxygen-based bleach cleaner mixed per the product label.
- Apply the solution with your soft brush, working from the top of each section downward. Never scrub upward against the lap joints — that drives water behind the panels.
- Rinse thoroughly from top to bottom with the garden hose before the soap has a chance to dry. Soap residue left on the surface attracts dirt and can dull the finish.
- Inspect the surface while it is still wet. Staining that does not rinse away may indicate a biological growth issue or a paint failure that needs separate attention.
Cleaners to use and avoid
- Safe: plain water, mild dish soap, oxygen-based bleach (e.g., sodium percarbonate products)
- Use with caution: manufacturer-recommended mildew cleaners (follow label dilution exactly)
- Avoid: chlorine bleach at full strength, ammonia-based cleaners, strong acids, abrasive scrubbing pads
Rinse top-to-bottom with a garden hose and always test any new cleaner on a hidden section of siding before applying it to a visible wall. That 60-second test can save you from a discolored panel you cannot easily fix.
Pressure-washer rules
A pressure washer is not the right default tool for fiber cement siding. Used above 1,500 PSI, it can force water behind panels, create hidden rot, and void manufacturer warranties. If you choose to use one, stay below 1,500 PSI, keep the nozzle at least 6 feet from the surface, and use a wide fan tip (40-degree or wider). Never angle the stream upward into the lap joints.
Save the pressure washer for concrete and decks.*
How do you inspect fiber cement siding and spot common problems?
Effective inspections follow a system. Bring a stable ladder, a flashlight, a tape measure, and your phone to photograph anything that looks off. Document what you find so you can track whether a condition is stable or getting worse.
What to look for
- Chips or cracks in individual boards, especially at corners and cut ends
- Caulk that is cracked, shrunken, pulled away from the joint, or missing entirely
- Fasteners that have backed out, corroded, or are missing
- Paint that is chalking, fading unevenly, or peeling at the edges
- White powdery deposits (efflorescence) on the surface
- Staining patterns that suggest water is running behind or under the siding
- Missing, bent, or rusted flashing at windows, doors, and roof-to-wall transitions
Efflorescence: what it actually means
Efflorescence is a mineral salt deposit that forms when moisture moves through the cement board and carries soluble salts to the surface. Nichiha’s maintenance documentation notes that it can indicate saturation during storage before installation or ongoing water intrusion behind the siding. Do not simply wash it off and move on. Investigate the source of the moisture.
Clearance and fastener checks
| Check | Standard | How to measure |
|---|---|---|
| Grade clearance | Minimum 6 inches | Measure from bottom edge of lowest siding course to finished grade |
| Roof/deck clearance | Approximately 2 inches | Measure gap between siding and adjacent roof or deck surface |
| Fastener spacing | Per manufacturer spec | Verify fasteners are flush, not overdriven or backing out |
| Caulk condition | No gaps, cracks, or separation | Run a finger along every joint; press gently to feel for hollow spots |
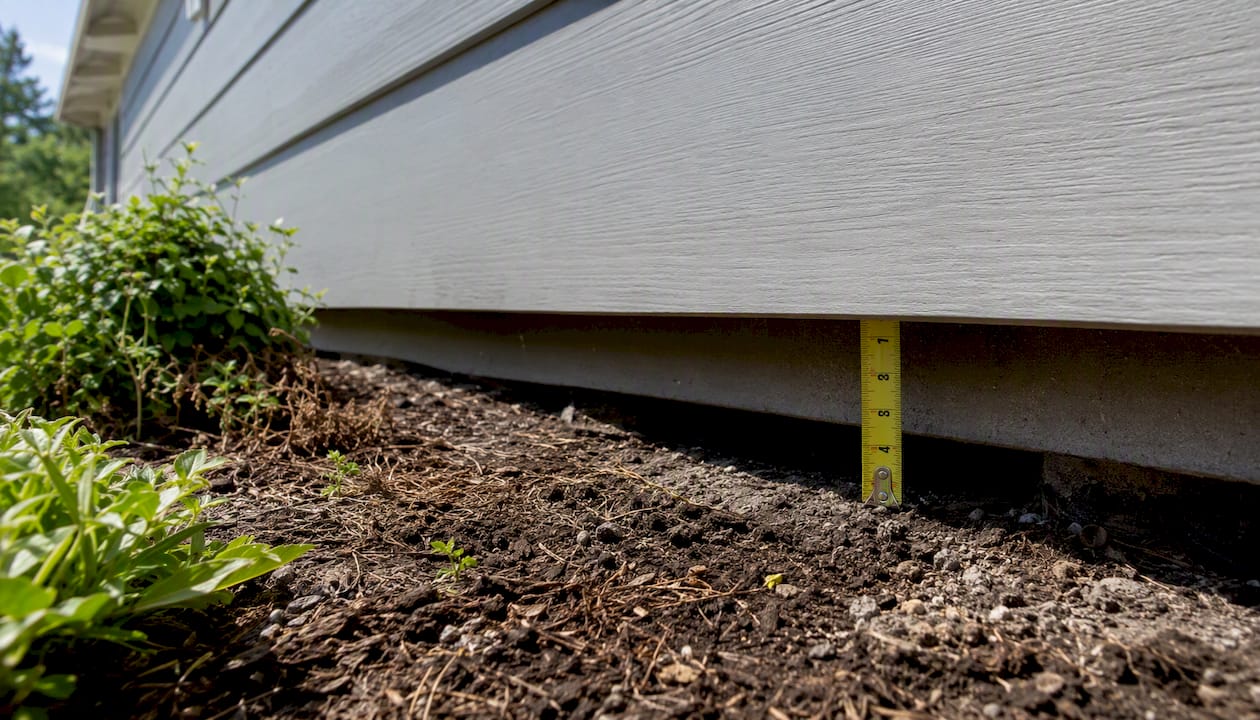
Common causes behind common symptoms: vegetation in contact with siding traps moisture and causes paint failure and biological growth. Blocked gutters create splash saturation at the siding base. Missing or improperly lapped flashings allow water to track behind the WRB (water-resistive barrier), which shows up as persistent staining or soft spots in the sheathing.
DIY repairs you can handle confidently
Small chips, failed caulk, and a backed-out fastener or two are well within a capable homeowner’s skill set. Larger structural issues are not.
Tools and materials checklist
- Cementitious patching compound compatible with fiber cement
- Backer rod (for wide joints before caulking)
- ASTM C920-compliant flexible caulk or ASTM C834 latex sealant
- Non-corrosive (stainless steel or hot-dipped galvanized) fasteners
- Putty knife and stiff-bristled brush
- NIOSH-approved respirator (N95 or better) for any sanding or cutting
- Eye protection and gloves
- Wet-sanding supplies or a vacuum-equipped cutting tool for dust control
How to patch a small chip
- Clean the damaged area with a damp brush and let it dry completely.
- Apply a cementitious patching compound with a putty knife, slightly overfilling the void.
- Smooth flush with the surrounding surface and allow to cure per the product instructions.
- Sand lightly if needed, using wet-sanding technique to control silica dust. Wear your respirator.
- Prime the patched spot with an exterior primer compatible with fiber cement before applying a topcoat.
How to replace failing caulk
- Score and remove the old caulk bead completely with a utility knife and a caulk-removal tool.
- Clean the joint surfaces with a dry brush to remove residue.
- Apply primer to bare cementitious surfaces where the manufacturer recommends it.
- Insert backer rod if the joint is wider than about 3/8 inch.
- Apply ASTM C920-compliant flexible caulk in a smooth, continuous bead and tool it into the joint within a few minutes of application.
Fiber cement dust from cutting or sanding contains crystalline silica, which is a respiratory hazard. Always use a NIOSH-approved respirator and work in a well-ventilated area. Wet-sanding or using a vacuum-equipped saw significantly reduces airborne dust.
When to stop and call a pro
- Staining that persists after cleaning, suggesting water behind the siding
- Multiple boards with structural cracks or soft spots
- Widespread fastener corrosion or backing-out across a wall section
- Any sign of damaged or missing WRB or flashing
When should you repaint fiber cement siding?
Paint is the primary moisture barrier for field-painted fiber cement. When it fails, the siding becomes vulnerable. Knowing when to repaint — and how to prep correctly — protects both the siding and your investment.
Repaint frequency
Repainting intervals commonly fall in a 10–15 year window for many installations, depending on paint quality and exposure. Field-painted siding in a harsh exposure (south-facing, coastal, or high-UV) may need attention closer to the 7-year mark. Factory-applied finish systems like James Hardie’s ColorPlus® technology are designed to extend the first repaint cycle, often to around 15 years depending on the specific system and conditions.
| Finish type | Typical repaint interval | Key variable |
|---|---|---|
| Field-painted (standard acrylic) | 7–15 years | Sun exposure, paint quality, prep quality |
| Factory finish (e.g., ColorPlus®) | Up to ~15 years | System-specific; follow manufacturer guidance |
| Spot touch-ups | As needed | Address chips and bare spots within the season |
Surface prep checklist
Prep is where most repaint failures begin. A coat of paint applied over chalky, damp, or poorly caulked surfaces will fail years before it should.
- Wash the siding and allow 24–48 hours to dry fully before painting
- Scrape any loose or peeling paint and feather the edges smooth
- Replace any failed caulk with ASTM-compliant flexible sealant before priming
- Prime all bare cementitious spots with an exterior primer recommended for fiber cement
- Apply a premium 100% acrylic exterior latex topcoat; avoid oil-based alkyds unless the manufacturer explicitly permits them
For practical exterior painting prep techniques, exterior siding painting tips from experienced painters reinforce the same sequence: clean, dry, prime bare spots, then topcoat.
Cost and timeline
A spot touch-up on a single-story home typically takes a few hours and costs mainly in materials. A full repaint of a typical single-story home runs from roughly $1,500 to $4,000 or more depending on square footage, paint quality, and the extent of prep work required. Homes with significant height, difficult access, or extensive repair needs fall toward the higher end of that range.
How do you prevent moisture damage, mold, and paint failure?
Moisture is the primary long-term threat to fiber cement siding. Most failures trace back to one of four sources: blocked gutters, vegetation contact, missing or failed flashings, and improper grade clearance. Addressing all four is the most effective thing you can do for fiber cement siding longevity.
- Keep gutters and downspouts clear so water discharges away from the foundation, not against the siding base.
- Trim all shrubs, vines, and tree branches so they do not touch the siding. Vegetation contact traps moisture and creates a pathway for biological growth.
- Maintain the 6-inch grade clearance and the 2-inch clearance from roofs and decks at all times. Adding mulch or topsoil can silently eliminate that buffer.
- Inspect and maintain flashings at every window, door, and roof-to-wall transition. A gap in flashing is often the source of staining that appears several feet below it.
- Aim sprinkler heads away from the house. Repeated wetting from irrigation is one of the most overlooked causes of premature paint failure.
For Bucks County homeowners, winter weather and your home’s exterior presents specific challenges: freeze-thaw cycles stress caulk joints, and ice dams can drive water behind siding at the roofline. Re-check caulk before the first hard freeze each year.
Pro Tip: After a heavy rainstorm, walk the perimeter and look for any water running down the face of the siding rather than off the bottom edge. Water tracking across the face usually means a flashing or caulk failure above that point.
When should you hire a professional siding contractor?
Some conditions are beyond what a careful homeowner should attempt to fix. Knowing the line between a DIY repair and a professional scope protects both your home and your warranty.
Triggers for hiring a pro
- Persistent staining after cleaning, which suggests water intrusion behind the siding
- Large areas of efflorescence across multiple courses
- Mold or biological growth covering more than a few square feet
- Multiple boards with structural cracks or soft spots when pressed
- Widespread fastener corrosion or backing-out
- Damaged, missing, or improperly installed WRB or flashings
What a professional inspection covers
A qualified contractor will use a moisture meter to check readings behind the siding, assess flashings and WRB condition, audit fastener spacing and condition, photograph all findings, and deliver a prioritized repair plan. That documentation is valuable whether you hire the same contractor or get competing bids.
Scope, timeline, and cost ranges
When hiring a contractor for siding repairs or repainting, look for someone who references manufacturer-specific maintenance standards, specifies ASTM-compliant caulks in their scope, and can explain how they will address flashings and WRB integrity — not just the visible surface. A written scope that mentions those details signals a contractor who understands how fiber cement actually performs over time, not just how it looks on day one.
What to look for in a contractor: manufacturer-certified installers, a written scope that explicitly addresses WRB and flashing details, caulking standards referenced by product type, and local references or case studies you can verify. For guidance on choosing the right remodeling contractor in Bucks County, Jaghomesnow has put together a practical resource that walks you through the key questions to ask before signing anything.
A contractor’s perspective on routine upkeep
Most homeowners underestimate how much money routine maintenance saves. A $200 caulk replacement catches a problem before it becomes a $3,000 board replacement and WRB repair. The seasonal checklist in this guide is not busywork — it is the difference between a siding system that performs for 30 years and one that needs a major intervention in 12.
At JAG Home Enhancements, we see the same pattern repeatedly: homeowners who stayed on top of inspections and cleaning have siding that still looks sharp after 15 years. Those who skipped a few cycles end up with moisture damage that has worked its way into the sheathing. The repair cost is always higher than the maintenance cost would have been.
Jaghomesnow handles siding inspections, repairs, and repainting in Bucks County
Fiber cement siding that is properly maintained holds its value and its appearance for decades. When the scope goes beyond what you want to tackle yourself, JAG Home Enhancements provides the full range of services: professional inspections with moisture meter readings, small-patch repairs and caulk replacement, full plank replacement, flashing and WRB repairs, and complete exterior repainting projects.

We work with manufacturer guidelines from James Hardie and Nichiha, specify ASTM-compliant sealants in every scope, and align our work with your existing warranty terms. Our team has hands-on experience with fiber cement installations across Bucks County, Montgomery County, and nearby areas, so we understand the specific exposure conditions your home faces through Pennsylvania winters and humid summers.
Ready to schedule an inspection or get an estimate for repairs or a repaint? Contact JAG Home Enhancements to set up a free consultation and get a written scope before any work begins.
Sources
The sources below are worth bookmarking for product-specific guidance and standards references.
- Fiber Cement Siding Maintenance how to protect fiber cement siding from water or weather damage JamesHardie HardiePlank & CertainTeed WeatherBoards
- How to Clean Siding on your House | James Hardie
- How to Maintain Fiber Cement Siding
- Fiber Cement Siding Maintenance Guide: Care & Cleaning Tips
Recommended
- Fiber Cement Siding Installation Bucks County PA | JAG Home Enhancements
- Choosing the Best Siding for Your Home in Southampton, Richboro, Churchville or Holland, PA – JAG Home Enhancements
- How Winter Weather Impacts Your Home’s Exterior — and What Bucks County Homeowners Can Do Now – JAG Home Enhancements How Winter Weather Impacts Your Home’s Exterior in Bucks County, PA | JAG Home Enhancements
- Board and Batten Siding: What Homeowners Need to Know