

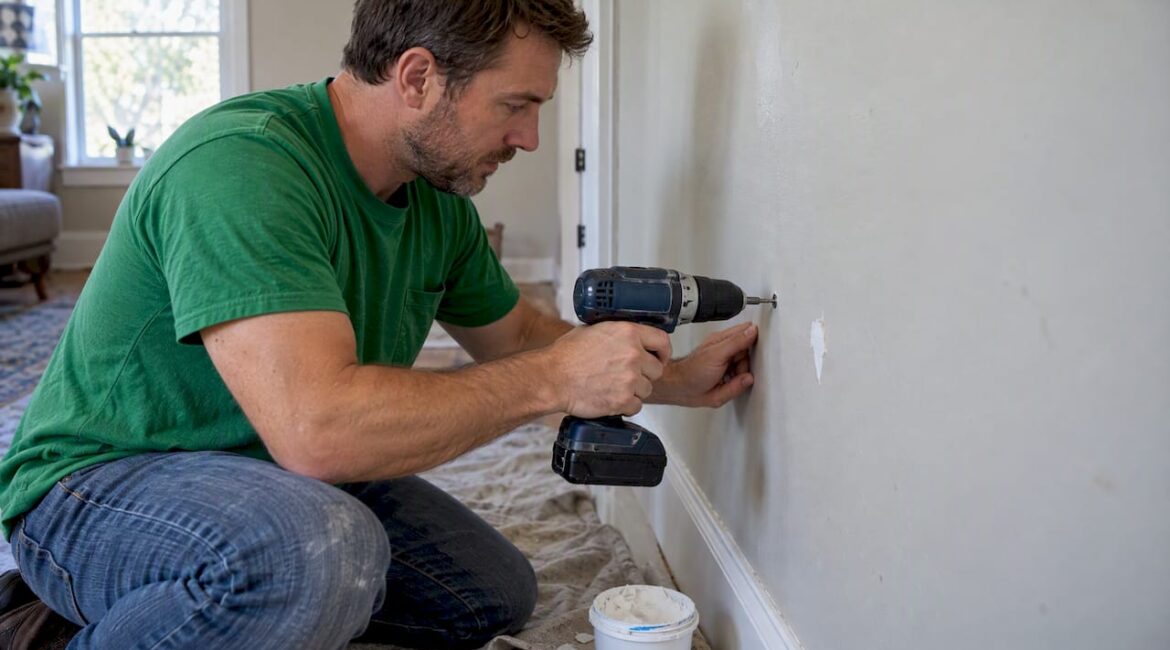
A nail pop is a small bump or crack where a fastener has pushed through the drywall surface, and most of the time you can fix it yourself with a couple of screws, some joint compound, and fresh paint. Isolated pops on a wall or ceiling are usually cosmetic. If you see several clustered together, or they keep coming back after repair, that pattern deserves a closer look before you reach for the spackle knife.
TL;DR:
- Nail pops caused by wood shrinkage are normal within the first year but tend to stabilize if the house is properly repaired and monitored.
- Clusters of nail pops along seams, or recurring spots after repair, may indicate framing or structural movement requiring professional inspection.
- Using screws instead of nails, spacing fasteners correctly, and controlling indoor humidity can prevent future nail pops and reduce need for repairs.
- For repairs, drive screws above and below the nail, not just hammer it in, then fill with joint compound and match wall texture to ensure lasting results.
- Persistent or widespread nail pops suggest the underlying issue might be more serious and should be evaluated by a licensed contractor.
Table of Contents
- How to spot nail pops and inspect the area
- Common causes homeowners should know
- When to worry: triage criteria and next steps
- Tools and materials to gather before you start
- Step-by-step DIY repair that lasts
- Prevention and when to consider larger repairs
- JAG Home Enhancements’ view on repairs versus calling a pro
- How JAG can help with drywall and larger repairs
- Sources
- FAQ
How to spot nail pops and inspect the area
A nail pop looks like a small, raised circle in the drywall surface, often with the paint cracked or flaking around it. Sometimes you can see the metal fastener head poking through; other times it is just a dome under the paint where the nail has backed out slightly.
The easiest way to find them is with raking light. Hold a work lamp or flashlight close to the wall at a low angle and move it slowly across the surface. Shadows will catch every bump you might miss under normal room lighting. Run your palm across the area too, since some pops are easier to feel than see.
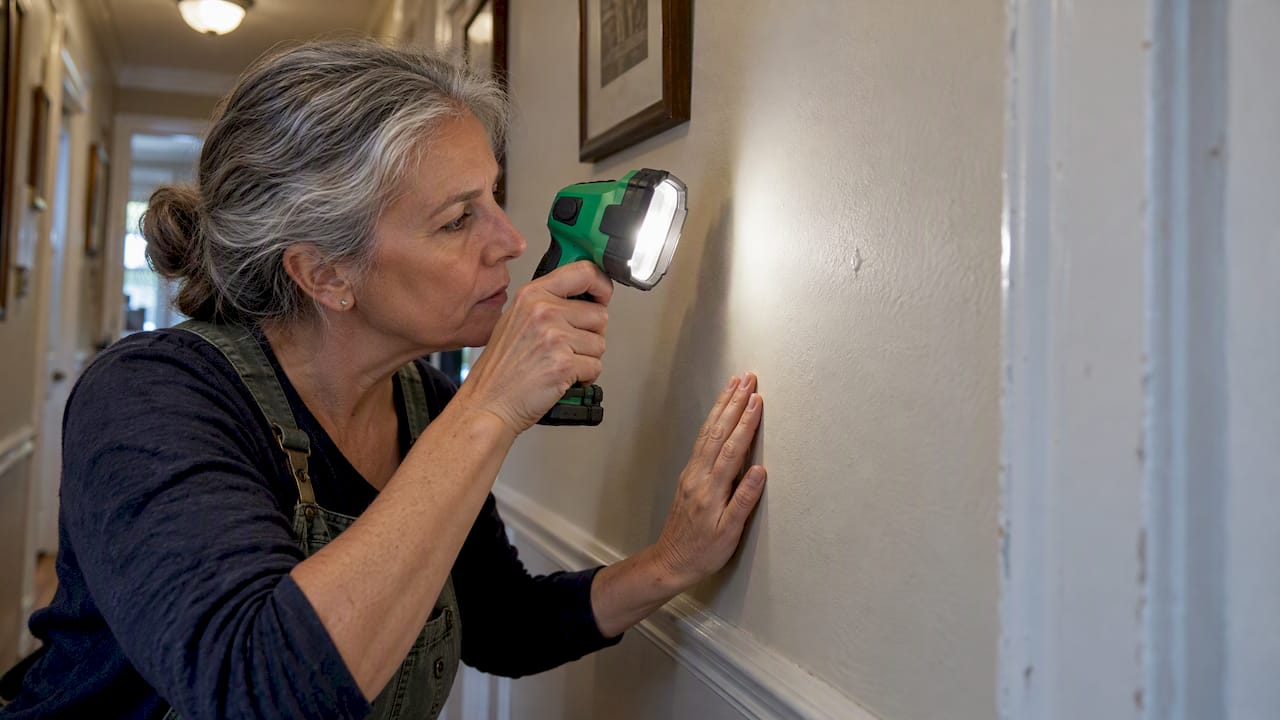
Walls and ceilings behave differently here. Wall pops tend to show up singly or in short rows along a stud line, while ceiling pops often cluster near the center of a room or along joists, which points toward a different cause.
Before you touch anything, document what you find:
- Take photos of each pop with a ruler or coin for scale
- Note whether they appear alone, in a line, or in clusters
- Mark the wall or ceiling location so you can track recurrence later
Common causes homeowners should know
Most nail pops trace back to simple wood behavior, not a failing house. Framing lumber is often installed with more moisture in it than it will have a year later, and as it dries, it shrinks slightly and pulls away from the fastener holding the drywall. According to the Gypsum Association’s GA-222 guidance, this shrinkage is a documented cause of fastener pops and part of why some movement in a home’s first year is considered normal.
A few other factors show up often:
- Nails instead of screws: nails hold by friction and tend to back out as wood moves, while screws thread into the framing and resist pull-out
- Fasteners spaced too far apart during the original hang, leaving panels less secure
- Truss uplift, a seasonal shift in roof trusses that pushes ceiling drywall away from interior walls
- Foundation or framing movement, which tends to show up as pops clustered along a seam rather than scattered alone
AWCI’s guidance on nail pops notes that clusters along seams can point to framing movement rather than ordinary wood shrinkage, which is the main reason pattern matters more than any single pop.
When to worry: triage criteria and next steps
One pop on one wall is rarely a reason for concern. A pattern of pops, especially combined with other symptoms, is where you want to slow down and look harder before patching anything.
- Isolated pop, no other symptoms: treat it as cosmetic and repair it with screws and compound.
- Several pops along the same seam or stud line: hold off on final repairs and watch for a few weeks, since trade guidance suggests waiting until movement stabilizes, often through a full heating season, before doing permanent cosmetic work, according to AWCI.
- Pops paired with cracks at door or window corners, doors that stick, or new foundation cracks: treat this as a sign of deeper movement and call a licensed contractor for an inspection.
- Recurring pops in the same spot after a repair: document the date and location each time, since a repeat pattern is useful information for whoever eventually inspects it.
In the meantime, avoid hammering repeatedly on a loose nail, since that can tear the paper facing and make the eventual patch harder to hide. Keeping a simple log of what you see and when, similar to the kind of punch list homeowners use to track defects, makes it much easier to explain the problem to a contractor later.
Tools and materials to gather before you start
Screws outperform nails here because their threads grip the stud as wood shrinks, where a smooth nail shank simply slides back out. Industry guidance from Norton Abrasives backs this up, noting that screws resist the pull-out that causes pops in the first place.
For most jobs, gather:
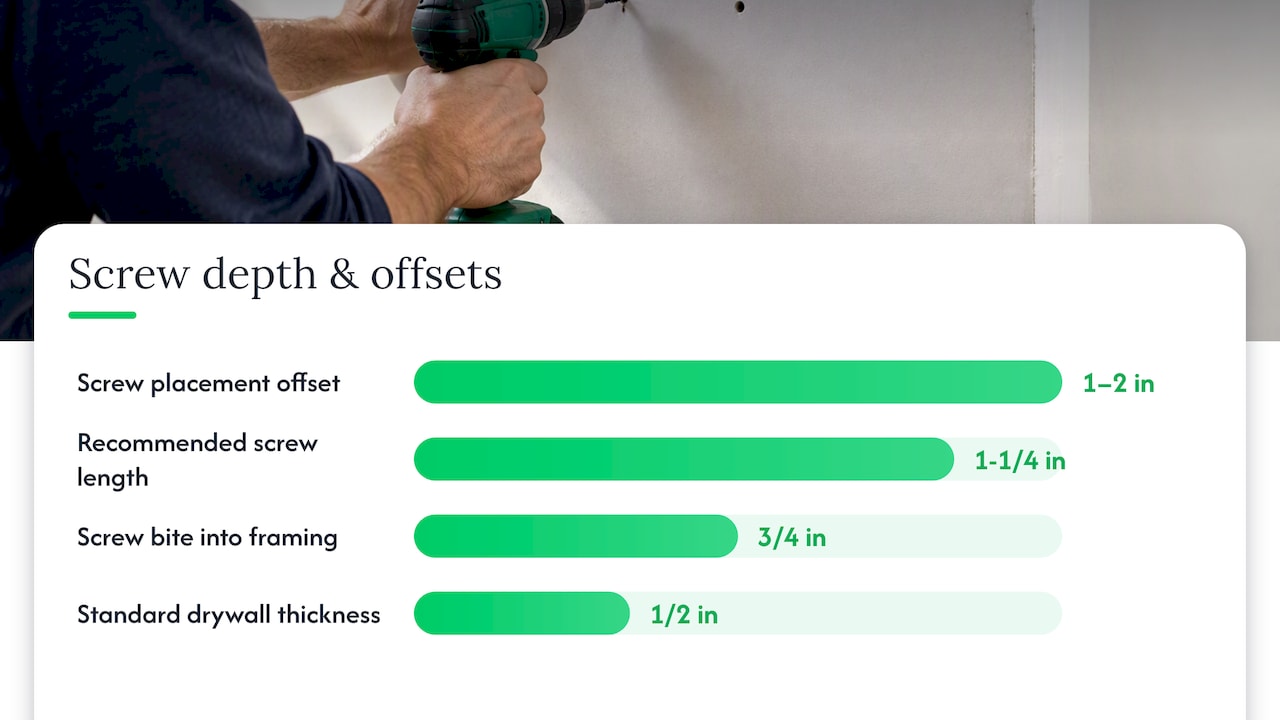
- A drill or driver with a Phillips bit, plus 1-1/4-inch drywall screws for 1/2-inch drywall (longer for thicker panels)
- A stud finder, a hammer, and a 4- to 6-inch putty knife
- A sanding sponge and a work lamp for raking light
- Joint compound, primer, matching paint, drop cloths, a dust mask, and safety glasses
Step-by-step DIY repair that lasts
Once you know the pop is isolated and safe to fix, the repair itself takes less than an hour per spot, including drying time between coats.
- Inspect and prep. Photograph the area, set up raking light, lay a drop cloth below, and use a stud finder to confirm exactly where the framing sits.
- Try tapping the nail flush. If the nail head sits just above the surface, a light tap with a hammer may seat it again. If it will not stay flush or the hole feels loose, leave it alone rather than driving it harder.
- Drive two screws into the stud. Place one drywall screw about 1 to 2 inches above the pop and one below it, both sinking into the same stud. Bob Vila’s repair guide recommends this above-and-below pattern because it pulls the panel flat against the framing on both sides of the problem fastener.
- Handle the old nail. If it is not interfering with the screws, you can leave it in place or sink it slightly below the surface. Work gently so you do not tear the paper facing around the hole.
- Apply joint compound in thin coats. Cover the screw heads and the old nail dimple, feathering the edges out several inches so the patch blends into the surrounding wall. Let each coat dry fully, which usually takes several hours, before adding the next.
- Sand, prime, and paint. Once the compound is smooth and dry, sand lightly, prime the patch so it absorbs paint evenly, and paint to match. If the surrounding wall has texture, match it before priming.
Pro Tip: Screw depth matters as much as screw count: aim for the fastener to bite at least 3/4 inch into solid framing, which for standard 1/2-inch drywall usually means a 1-1/4-inch screw is the right length.
If the same stud keeps popping after a repair, add a third screw along that stud rather than repeating the same two-screw pattern, or consider whether that section of panel needs to come down and be reattached properly. Ceiling repairs follow the same steps, but work from a stable ladder or scaffold and wear safety glasses, since compound and dust fall straight down toward your face.
Prevention and when to consider larger repairs
The best way to avoid a repeat of this project is to get the fastening right the first time. When hanging or rehanging drywall, panel edges should get a screw roughly every 8 inches, with screws in the field of the panel spaced 12 to 16 inches apart.
A few habits help beyond fastening:
- Keep indoor humidity reasonably stable across seasons, since swings dry out framing lumber faster and increase shrinkage
- Make sure attic ventilation is adequate, since poor airflow contributes to truss movement that shows up as ceiling pops
- If pops show up across many studs or across a large section of ceiling, treat it as a sign the panel itself may need to come down and be refastened or replaced, not just patched again
A homeowner’s guide on repairing versus replacing drywall is a useful gut check if you are weighing whether a widespread patch job is still worth it or whether a full panel swap makes more sense.
JAG Home Enhancements’ view on repairs versus calling a pro
Most nail pops we see on repair calls are exactly what the trade guidance describes: isolated spots from ordinary wood movement, fixable in an afternoon with screws and compound. We walk homeowners through that distinction often, because knowing the difference between a cosmetic touch-up and a sign of something larger saves money and worry.
Where we recommend bringing in a professional is when pops keep returning on the same studs, when a ceiling shows signs of truss uplift, or when cracking shows up at multiple door and window corners at once. At that point, a patch is treating a symptom, not the cause, and a proper inspection matters more than another tube of compound.
— Jeff
How JAG can help with drywall and larger repairs

When a nail pop turns out to be more than a quick patch, or when it’s part of a bigger renovation you’ve been planning, JAG Home Enhancements can take it from there. We handle everything from small or large repair work to full basement remodeling and home additions, so a drywall issue never has to become its own separate headache.
An inspection starts with a clear look at the scope, an honest estimate, and a timeline you can plan around, with communication along the way instead of surprises at the end. If you’re ready to get a problem area looked at properly, reach out through our kitchen and bathroom remodeling services page to start the conversation.
Sources
For readers who want the underlying trade standards, the Gypsum Association’s GA-222 covers repair methods in technical detail, and AWCI’s guidance explains framing movement and when pops signal something deeper. The Spruce’s repair walkthrough offers another homeowner-friendly version of the screw-and-patch method described above.
- AWCI – Nail pops / efflorescence guidance
- GA-222-2019 Repairing Screw or Nail Pops – Gypsum Association
- Bobvila
FAQ
Can I just hammer in nail pops?
Tapping a protruding nail flush can work if it seats firmly and stays put, but hammering alone often leaves the fastener loose again within weeks. Driving a drywall screw above and below the old nail, as recommended in Bob Vila’s repair guide, gives a far more durable fix.
Is it normal to have nail pops in a new build?
Yes, some nail pops in the first year or two are considered normal, since framing lumber dries and shrinks slightly as a house settles into its climate. Trade guidance from AWCI notes that waiting until this movement stabilizes, often through a full heating season, leads to more lasting repairs.
How many nail pops are normal on a ceiling?
There is no fixed count that marks the line between normal and concerning, but a few scattered pops are typically just cosmetic wood movement. A cluster along one seam, or pops that keep returning after repair, fits the pattern that AWCI associates with possible truss or framing movement worth a professional look.
Why are there so many nail pops in my house?
Widespread pops usually mean the original installer used nails instead of screws, spaced fasteners too far apart, or the home is still working through normal seasonal wood shrinkage. If the pattern is heavy and spread across many studs, The Spruce’s guidance suggests it may be worth having a contractor assess whether panels need refastening rather than patching each spot individually.