

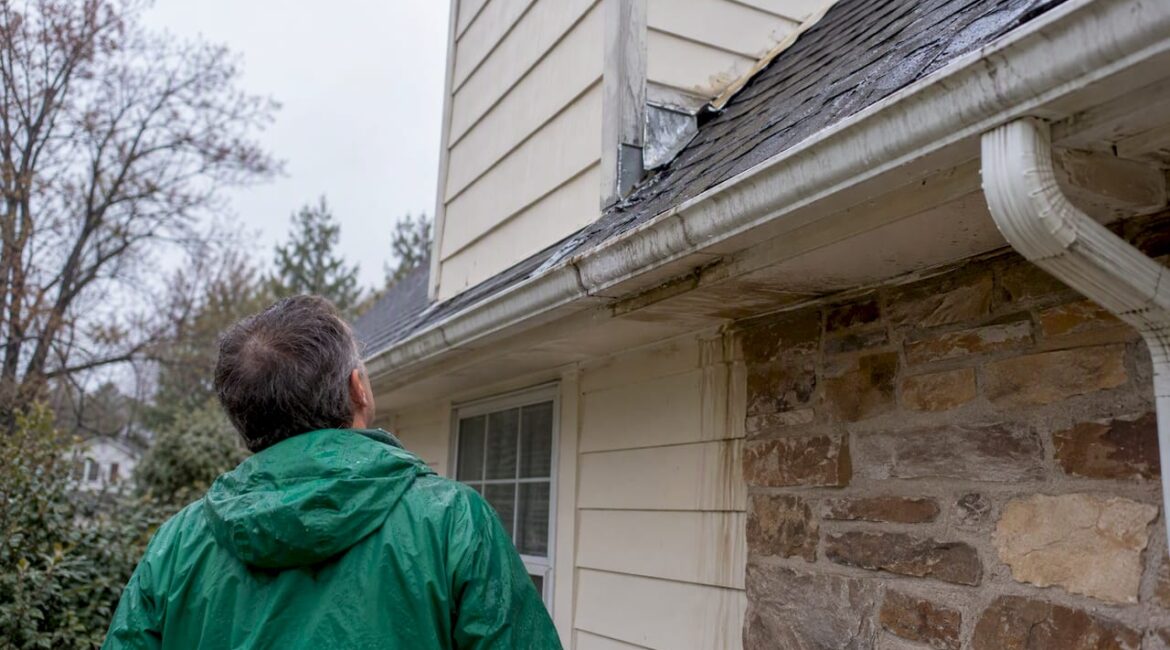
If your roof leaks during heavy rain, priority one is safety: stay off the roof and away from water near outlets or fixtures. Priority two is limiting interior damage: collect dripping water, move valuables, and relieve a bulging ceiling before it bursts. Once the rain eases, photograph everything and arrange a professional inspection.
TL;DR:
- Heavy rain often exposes roof leaks at flashing seams and drainage points rather than roof surface holes, especially around chimneys and gutters.
- Acting quickly during rain involves safety precautions, draining trapped water, and photographing damage, while avoiding risky roof access.
- Tracing leaks typically requires attic inspection and hose testing, as water often travels along rafters before dripping, and small penetrations can leak for years.
- Temporary fixes like tarps are only short-term solutions; proper installation and professional sealing are essential for preventing further damage.
- Regular maintenance, including gutter cleaning and annual flashing inspections, significantly reduces the risk of leaks during severe storms.
Table of Contents
- Why roofs leak during heavy rain: the common failure points
- Immediate steps to take while it’s raining
- How to find and diagnose the leak once the weather lets up
- Temporary fixes homeowners can use and what to avoid
- After the storm: drying, mold risk, cleanup, and insurance steps
- Prevention and maintenance checklist to reduce leaks in future heavy rains
- Why a qualified contractor matters: what professionals do differently
- Quick action and regular upkeep prevent the worst damage
- How JAG Home Enhancements can help with storm repairs
- FAQ
- Sources
Why roofs leak during heavy rain: the common failure points
A roof that stays dry in a light drizzle can leak badly once wind and volume increase. Heavy, wind-driven rain pushes water sideways and upward into spots that normally shed it downhill. That pressure finds every weak seam in the roof’s water management system, not just obvious holes.
Several conditions set up this kind of failure:
- Aged or cracked shingles and worn sealants that hold up fine until water volume overwhelms them.
- Flashing around chimneys, walls, and roof valleys that have pulled away or corroded.
- Clogged gutters that back water up under the roof edge instead of carrying it away.
- Vent boots, skylights, and old penetration points where seals have shrunk or split over time.
Flashing deserves special attention. Step flashing and kick-out flashing are designed to direct water down and away from where a roof meets a wall, and proper flashing and drainage-plane integration are what keep that intersection dry. When those details are missing or installed wrong, heavy rain exposes the gap almost immediately, even though the roof looked fine for years.
A leak that only shows up in storms often traces back to a flashing or drainage detail, not a hole in the shingles themselves. Fixing the visible shingle without correcting the underlying flashing frequently leaves the real problem unresolved.
Immediate steps to take while it’s raining
Acting fast during the storm limits damage and keeps you safe. Follow these steps in order:
- Stay off the roof. Wet, wind-whipped conditions make roof access dangerous, and the leak will still be there once the storm passes.
- Cut power to any outlet, switch, or fixture near standing water or a dripping ceiling.
- Set buckets or basins under the drip and lay towels or plastic sheeting to catch runoff.
- If a ceiling is bulging with trapped water, puncture it carefully at the lowest point with a screwdriver into a bucket. This releases pressure in a controlled way instead of letting the ceiling collapse.
- Move furniture, electronics, and anything irreplaceable out of the affected area.
- Photograph the damage as it happens, including water pooling, stains, and any ceiling sagging, for your records.
Pro Tip: Keep a flashlight, a few buckets, and a roll of plastic sheeting in a hall closet so you are never scrambling during a storm.
Once it’s safe, our first 48 hours storm checklist walks through what to tackle next and when to call for emergency tarping.
How to find and diagnose the leak once the weather lets up
Tracing a leak to its actual source takes patience, because water rarely drips straight down from where it entered.
- Start in the attic with a flashlight, following stains, dark wood, or damp insulation back toward the roof deck.
- Check for daylight gaps around nail heads, vent boots, and flashing seams while you’re up there.
- Run a controlled hose test: have one person stay in the attic while another wets a small section of roof at a time, starting low and working up, until the leak reappears.
- Remember that water often travels along rafters or sheathing before dripping, so the ceiling stain can sit several feet from the true entry point.
This attic inspection and hose test method is a practical starting point for homeowners, but small penetrations like old nail holes can leak for years before symptoms show inside. If the attic is hard to access safely, or the stain pattern doesn’t match any obvious entry point, a contractor with a moisture meter can usually find the path faster than repeated hose tests. For a fuller list of warning signs to check both inside and outside, see our guide to signs of a roof leak.
Temporary fixes homeowners can use and what to avoid
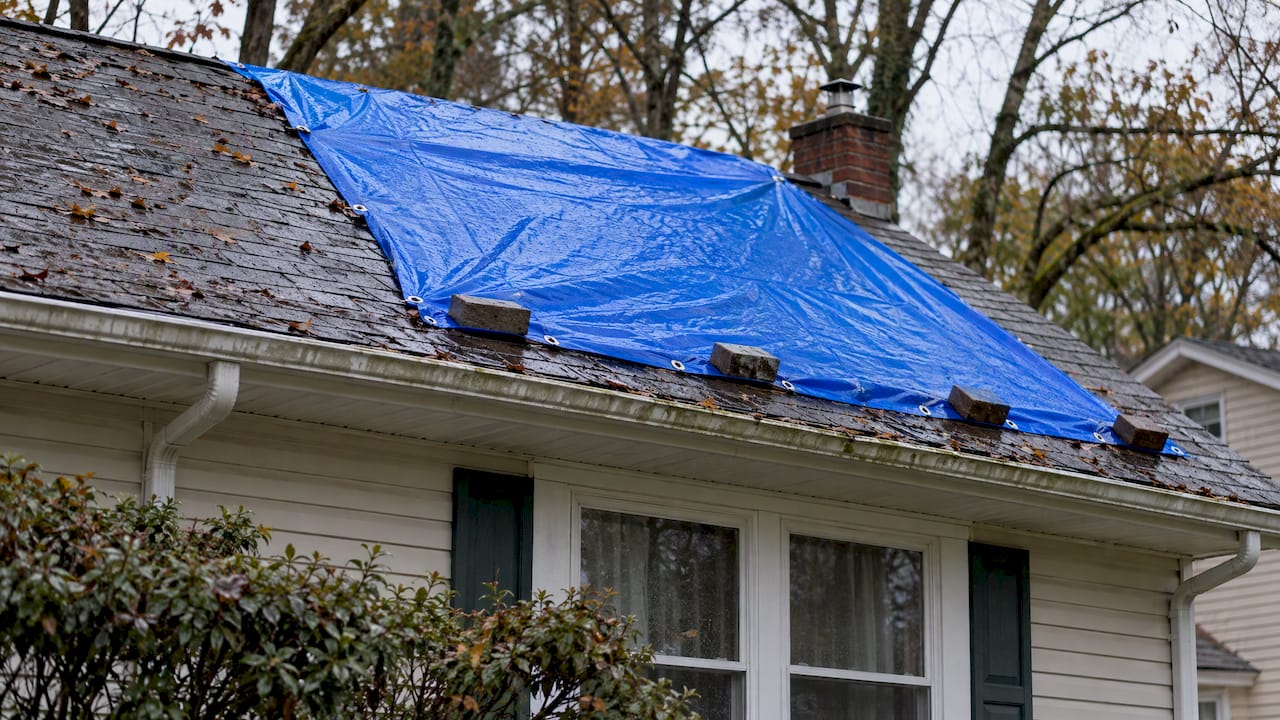
A tarp bought you time, not a repair. Done right, it keeps water out until a contractor can get on the roof; done wrong, it can create new leak paths.
- Extend the tarp well past the damaged area in every direction and secure it with boards, not nails driven straight through the roof.
- Indoors, buckets, plastic sheeting, and towels remain your best tools for containing drips while you wait.
- A small, accessible penetration, like a loose vent collar, can sometimes be sealed temporarily with roofing cement if you can reach it safely from a ladder.
- Avoid walking on a wet roof, running a generator in an enclosed space, using open flames near standing water, or painting over anything still wet or showing mold.
Pro Tip: If the roof is steep, wet, or damaged in a way that makes footing unsafe, skip the tarp yourself and call for emergency tarping instead.
FEMA and the Army Corps of Engineers both offer organized temporary roofing in declared disasters. FEMA’s self-help tarps and the Corps’ Operation Blue Roof are explicitly short-term measures, with Blue Roofs typically designed to last around 30 days while permanent repairs are arranged.
After the storm: drying, mold risk, cleanup, and insurance steps
Once the rain stops, the clock starts on drying. EPA guidance recommends drying wet materials within 24 to 48 hours whenever possible, since mold can take hold once that window passes.
- Run fans and a dehumidifier in the affected room if the electricity in that area is safe to use.
- Pull up soaked carpet padding and remove anything porous that stayed wet past the 24 to 48 hour mark.
- Wear gloves and a mask when handling wet drywall or insulation, following basic EPA cleanup and PPE guidance for water-damaged buildings.
- Call a remediation professional if materials are still wet after two days or if you see visible mold growth.
Materials that stay wet past the EPA’s 24 to 48 hour window should be treated as a mold risk and either dried aggressively or removed. For insurance, photograph the damage with dates before you start cleanup, save receipts for any emergency repairs, and keep a written timeline. Our roof insurance claim guide covers documentation homeowners often miss, and a restoration specialist like Ready 2 Inspect can speak to professional drying timelines if the damage is extensive.
Prevention and maintenance checklist to reduce leaks in future heavy rains
Most storm leaks trace back to maintenance that got put off. A short list, done on a schedule, prevents most of them:
- Clean gutters and downspouts at least twice a year so water has somewhere to go besides under your shingles.
- Trim back tree limbs that drop debris into valleys or rub against the roof surface during wind.
- Inspect flashing around chimneys, skylights, and roof-to-wall transitions every year, since this is where step and kick-out flashing failures most often start.
- Check attic insulation and ventilation, since poor airflow traps condensation that mimics a roof leak.
- Schedule a professional roof inspection annually, and ask your contractor to specifically check flashing integration, not just shingle condition.
Chimney flashing is a frequent culprit worth understanding on its own; our breakdown of chimney flashing failure modes explains when a simple reseal is enough and when the flashing needs full replacement.
Why a qualified contractor matters: what professionals do differently
A homeowner can spot a stain. A contractor traces it. That difference shows up in how the work gets scoped:
- Professionals pull back shingles and underlayment to inspect the flashing and deck underneath, not just the surface.
- They use moisture meters to find hidden wet spots before they become visible stains.
- Typical scopes range from emergency tarping and targeted flashing or vent boot replacement to a full section of shingle replacement, depending on what the inspection turns up.
- A solid contractor also handles cleanup, confirms licensing and insurance up front, and documents findings with photos before starting repairs.
A qualified contractor brings that same approach to storm damage calls, treating the flashing and drainage details as seriously as the shingles on top.
Quick action and regular upkeep prevent the worst damage
The leaks that cause real financial pain are rarely the ones you catch fast. Document early, dry within that 48 hour window, and don’t skip the annual flashing check. Those habits beat almost any single repair.
— Jeff
How JAG Home Enhancements can help with storm repairs
A leak during heavy rain rarely has one simple fix, and guessing at it from the ground wastes time you don’t have once water is inside your walls. A home remodeling company handles emergency tarping, flashing repair, and full roof replacement for homeowners in the local service area, maintaining clean job sites and clear communication.

If your roof is leaking in a storm or you want an inspection before the next one hits, visit our roofing and storm damage services page to request a visit.
FAQ
How much does it cost to fix a roof that only leaks in heavy rain?
Cost depends on whether the fix is a localized flashing or vent boot repair or a larger reroofing job, since storm-only leaks often point to a drainage detail rather than widespread shingle failure. A contractor needs to inspect the attic and roof surface before giving an accurate number, so treat any quote given without an inspection with caution.
Does homeowners insurance cover roof leaks due to rain?
Coverage usually depends on whether the damage resulted from a sudden, covered event like wind or storm impact rather than gradual wear or long-term neglect. Review your policy’s specific language and document the damage thoroughly, since insurers typically want dated photos and a clear timeline before approving a claim.
Why does my roof leak only when it rains hard?
Heavy, wind-driven rain pushes water into gaps that light rain never reaches, often at flashing, valleys, or clogged gutter lines rather than the shingles themselves. This is why a roof can pass casual inspection yet still leak during a serious storm.
How expensive is it to fix a leaky roof?
Repair costs vary widely based on the cause, from a simple resealed vent boot to full flashing replacement or a section of new shingles. Our repair versus replacement guide breaks down the factors that typically drive that decision.
Sources
- Homeowner’s and Renter’s Guide to Mold Cleanup After Disasters (EPA)
- Fact Sheet: The Difference between FEMA Tarps and USACE Blue Roofs (FEMA)
- How to Fix a Leaky Roof (Home Depot)
- Water Management for Residential Construction (Building America / DOE)