

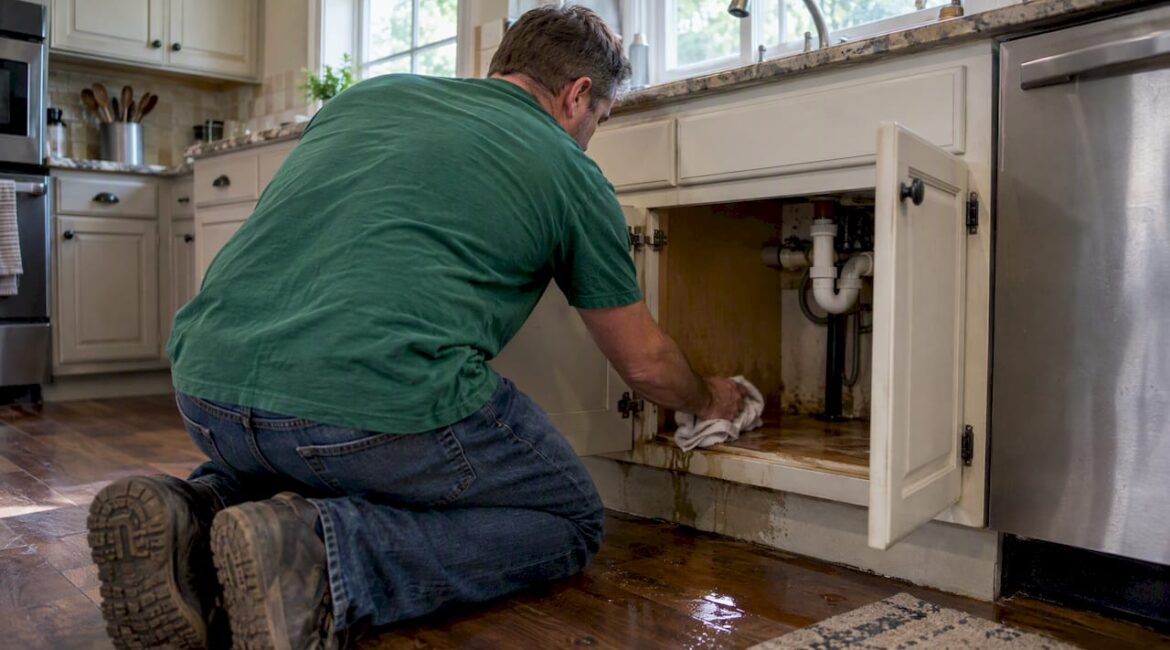
Most kitchen cabinets can be saved if you catch the leak early and dry the wood within the critical window, but particleboard that has already swollen or gone soft usually cannot be restored no matter how fast you act; consider professional cabinet refinishing for a lasting solution. Your first moves matter more than your repair skills: shut off the water source, pull out standing water, and get cabinet interiors open and drying quickly within the critical window. If you’re dealing with sewage-contaminated water, visible structural sagging, or mold covering more than about 10 square feet, stop and call a restoration professional before you touch anything else.
TL;DR:
- Particleboard cabinets that have swollen or become soft cannot be restored and will likely require replacement, even if drying is quick.
- Moisture must be removed within 24 to 48 hours to prevent mold growth, making rapid response crucial after a leak occurs.
- Using moisture meters helps determine if wood panels are salvageable by checking for softness or structural damage before attempting repairs.
- Professional assessment is recommended if water contaminates sewage or mold covers more than 10 square feet, as DIY may not suffice.
- Regularly inspecting supply hoses, installing moisture sensors, and keeping removable toe kick panels accessible can prevent future leaks and water damage.
Table of Contents
- How to Inspect and Assess the Damage
- Immediate Actions and Drying Methods
- Repairability by Material: Particleboard vs. Plywood
- How to Repair Water-Damaged Cabinets Yourself
- Refinishing and Sealing After Repair
- Mold Risk and When to Call a Professional
- Preventing the Next Leak
- A Contractor’s View on Repair vs. Replace
- How JAG Home Enhancements Can Help
- FAQ
- Sources
How to Inspect and Assess the Damage
Before you decide whether to repair or replace, you need a clear picture of how far the water traveled and how long it sat. Most kitchen leaks start quietly under sinks, behind dishwashers, along refrigerator water lines, or at countertop seams where caulk has failed, so check those spots first even if the visible damage is elsewhere.
Walk the cabinets methodically and note what you find:
- Staining, bubbling, or blistering on cabinet faces, especially along the toe kick and base cabinet floor.
- Soft spots you can press with a thumb, along with a musty or sour smell that signals trapped moisture.
- Drawers or doors that have started sticking or no longer close flush, which often means the box has swelled.
- Hidden leak points: supply line fittings, dishwasher hose connections, and the gasket under the sink basin.
A moisture meter takes the guesswork out of this. Probe several spots on each panel, and press firmly on suspect areas; wood that gives or crumbles under light pressure is already compromised. Photograph everything before you start drying or removing parts, since you’ll want that record if you file an insurance claim.
Immediate Actions and Drying Methods
What you do in the first two days determines whether your cabinets dry out cleanly or start growing mold. The EPA notes that materials dried within about one to two days after a leak or spill usually avoid mold growth altogether, which makes speed your single biggest advantage here.
Statistic Callout: The EPA states that drying wet materials within 24 to 48 hours prevents mold growth in most cases, so treat that window as a hard deadline, not a suggestion.
Work through these steps in order:
- Shut off the water source at the valve or appliance, and cut power to any outlets near standing water before you start cleanup.
- Remove cabinet contents and mop up or vacuum standing water with a wet/dry shop vac.
- Pull out removable shelves, drawers, and doors so air can reach every wet surface.
- Set up fans and a dehumidifier aimed directly into the open cabinet cavity, and keep them running until a moisture meter reads normal and the musty smell is gone.
If water has soaked into the subfloor or wall cavity behind the cabinets, professional extraction equipment will dry faster and more thoroughly than box fans alone. Skip the fans entirely if you suspect sewage contamination or active mold. Moving air across contaminated water spreads spores through your kitchen instead of drying it out.
Repairability by Material: Particleboard vs. Plywood
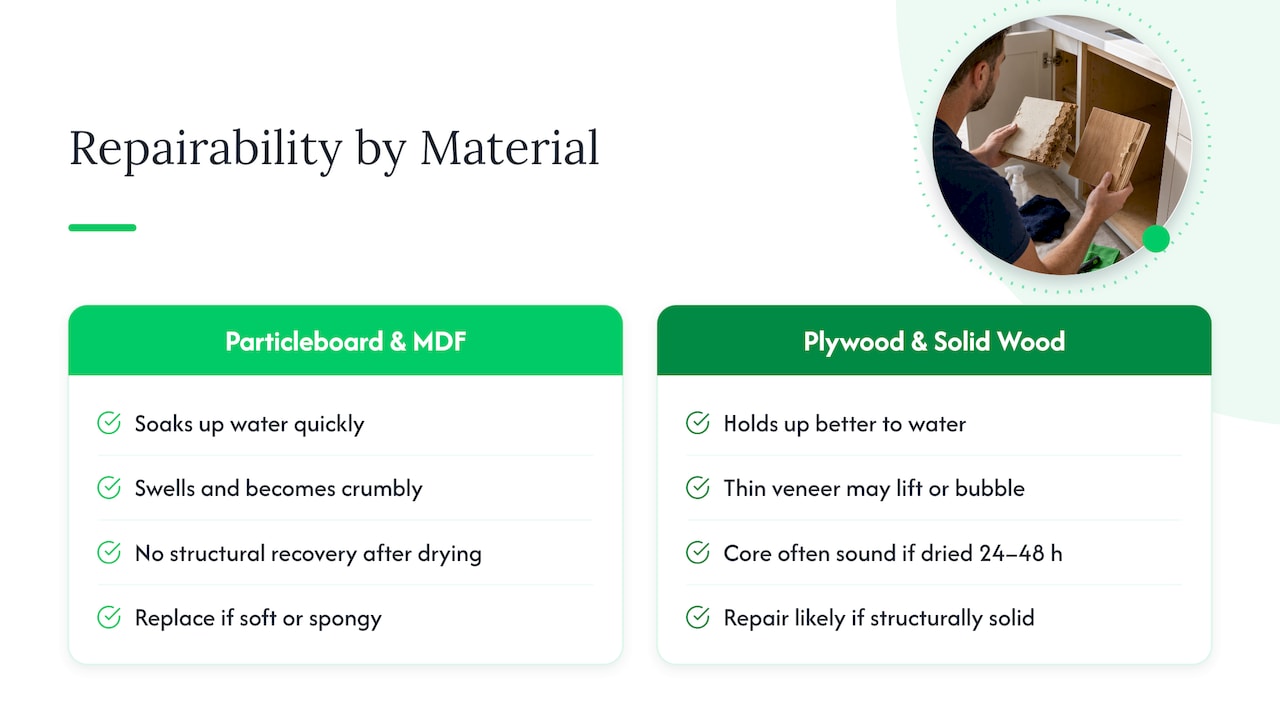
The material behind your cabinet doors decides most of this outcome before you ever pick up a sander. Particleboard and MDF behave like sponges: they soak up water fast, swell, and once the fibers have broken down, no amount of drying brings back their original strength. If a panel feels soft, crumbly, or spongy when you probe it, budget for replacement rather than repair.
Plywood and solid wood hold up considerably better, especially when the leak is caught quickly. Thin veneers may lift or bubble, but the core panel often stays structurally sound if it dries within that 24 to 48 hour window. Check for warping, separated glue lines, and whether drawers still sit square in their openings. A panel that’s solid but visibly warped is a good candidate for drying and targeted repair; one that crumbles under thumb pressure is not.
How to Repair Water-Damaged Cabinets Yourself
Once you know which panels are salvageable, the repair approach depends on whether you’re dealing with surface damage or structural failure. Home-repair guides lay out a fairly consistent sequence for fixing water damage under a sink, and it holds up well for most kitchen cabinet repairs.
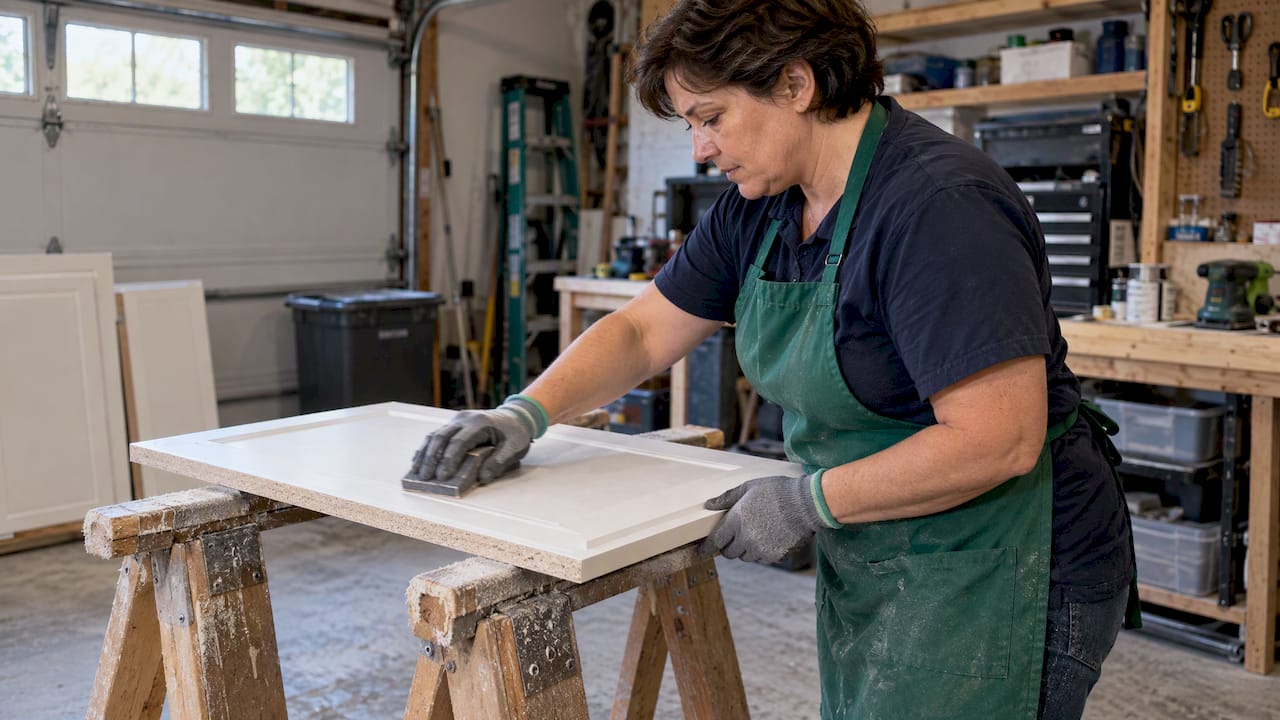
- Clean the surface with a mild detergent and let it dry fully, then sand away any lifted finish or raised grain.
- Fill gouges or soft spots with wood filler, let it cure, and sand smooth before priming.
- For lifted veneer, apply waterproof PVA or laminate contact adhesive, clamp with cauls to avoid high spots, and let it cure for 24 hours before reinstalling hardware.
- For a swollen or crumbling cabinet bottom, cut a replacement panel from three-quarter-inch exterior-grade plywood, seal every cut edge with waterproofing primer, and leave a small expansion gap at the back of the box to reduce buckling.
Pro Tip: Dry-fit any replacement panel before gluing or screwing it in, since base cabinet openings are rarely perfectly square after water exposure.
Wear gloves and a dust mask when sanding or handling water-damaged wood, and bag any removed particleboard for disposal rather than storing it, since it can continue to harbor mold even after it looks dry. If veneer has lifted across a wide area or the substrate beneath it has already swollen, regluing won’t hold. That’s a replacement panel, not a repair job.
Refinishing and Sealing After Repair
Don’t rush to paint or stain until a moisture meter confirms the wood has returned to a normal moisture content. Finishing over wood that’s still damp traps moisture and leads to peeling or bond failure within months. For painted cabinets, a bonding primer followed by two coats of cabinet-grade enamel holds up well in kitchen humidity. For stained wood, an oil-based polyurethane or marine varnish offers better moisture resistance than a standard lacquer finish.
Laminate and thermofoil surfaces need different prep entirely: light scuff-sanding and a dedicated bonding primer designed for slick surfaces, since standard wood primer won’t adhere. Give any repair at least a few days to fully cure before loading shelves or running the dishwasher nearby.
Mold Risk and When to Call a Professional
Mold is the real deadline behind the 24 to 48 hour drying window, and the size of the affected area tells you whether this is a DIY job. The EPA’s cleanup guidance sets roughly 10 square feet, about a 3-foot by 3-foot patch, as the upper limit for homeowners to handle safely on their own.
Statistic Callout: The EPA advises that mold problems confined to a small area can often be cleaned up by homeowners, while larger areas or contaminated water call for a professional.
Call a restoration professional when any of these apply:
- The water source was sewage, floodwater, or otherwise contaminated.
- Mold covers more than roughly 10 square feet or has reached into the wall cavity or HVAC system.
- Anyone in the household has asthma, a mold allergy, or another condition that makes exposure risky.
For small areas, scrub mold off hard surfaces with detergent and water, dry completely, and discard porous material like particleboard that mold has penetrated. Painting over mold without removing it first only seals moisture in and lets the problem spread underneath the new finish.
Preventing the Next Leak
Most kitchen leaks trace back to a handful of predictable failure points, and catching them early costs far less than repairing cabinets after the fact. Replace rubber supply hoses on dishwashers and refrigerators with braided stainless steel lines, and check them annually for bulging or corrosion at the fittings.
A few additional habits go a long way:
- Install a water sensor near the sink and dishwasher that alerts you the moment it detects moisture.
- Set a drip pan under the refrigerator’s water line connection and check it monthly.
- Inspect dishwasher door seals and garbage disposal connections for slow seepage before it becomes a puddle.
Pro Tip: Keep the toe kick panel removable rather than caulked shut, since it gives you a quick way to check for hidden moisture without pulling the whole cabinet apart.
A Contractor’s View on Repair vs. Replace
In our experience, homeowners often wait too long deciding whether a leak is “bad enough” to deal with, and that hesitation is usually what turns a simple repair into a full cabinet replacement. The cabinets that survive are almost always the ones where someone shut off the water and started drying things out the same day.
We’ve also seen the opposite mistake: homeowners who sand and refinish a panel that still has a soft, swollen core underneath, only to watch the finish fail within a season. If the substrate is compromised, cosmetic work won’t fix it.
— Jeff
How JAG Home Enhancements Can Help
If your inspection turns up soft panels, widespread warping, or you’d simply rather have a professional opinion before you commit to a repair, we’re glad to take a look. An on-site assessment covers the full extent of the damage, moisture readings, and a straightforward recommendation: targeted repair, panel replacement, or a full kitchen remodel if the damage has spread.

We manage every step from the initial estimate through final walkthrough, providing personalized attention to make a stressful situation easier to navigate. Reach out through our kitchen remodeling services page to schedule an inspection.
FAQ
Can water-damaged kitchen cabinets be repaired?
Yes, often, particularly when the cabinets are plywood or solid wood and were dried within the first day or two after the leak. Particleboard or MDF that has already swollen or gone soft usually needs replacement rather than repair, since the material doesn’t regain its original strength once it breaks down.
Is water damage to kitchen cabinets covered by my insurance?
Homeowners insurance under a standard HO-3 policy typically covers sudden, accidental discharge from plumbing, such as a burst supply line, but it usually excludes flood damage and damage from long-term neglect or wear. Check your specific policy and talk to your agent before assuming coverage, since limits and exclusions vary by carrier.
How do I tell if water damage is permanent?
Press and probe the affected panel: if it feels soft, spongy, or crumbles under light pressure, the damage is likely permanent and the panel needs replacing. If the wood is solid but warped or discolored, drying and a surface repair can often restore it.
How do I fix the bottom of a cabinet that has water damage?
Remove the damaged bottom panel and cut a replacement from three-quarter-inch exterior-grade plywood sized to fit the cabinet box. Seal every cut edge with a waterproofing primer before installing it, and leave a small expansion gap at the back to reduce the risk of buckling later.
Sources
- A brief guide to mold, moisture, and your home (EPA)
- How to Repair Water Damage Under Your Sink (iFixit)
- Am I covered? (Triple-I)