

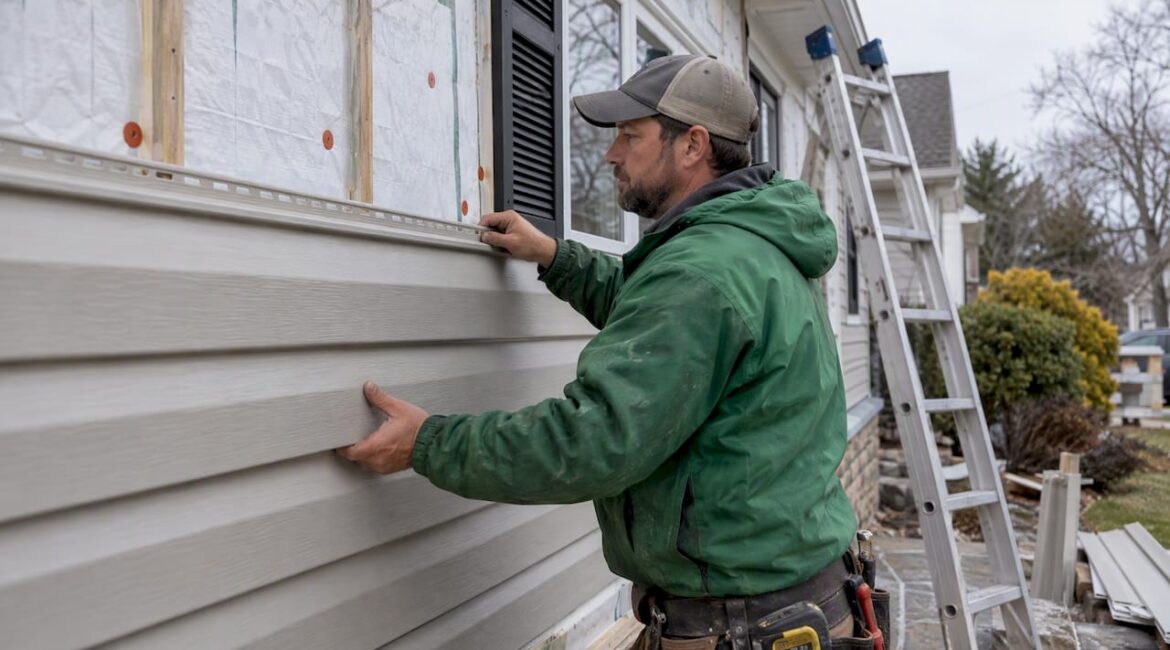
Foam-backed (insulated) vinyl siding adds modest continuous insulation, typically rated between R-2.0 and R-2.7, and it can reduce drafts and improve comfort when a crew installs it correctly. It is not a replacement for proper air sealing or full exterior foam sheathing, but it is a solid retrofit option for homes that are not getting a wall rebuild. Check the installation checklist and contractor questions below before you sign a contract.
TL;DR:
- In one cold climate retrofit, insulated siding accounted for more than half the airtightness gain, while normalized heating energy fell about 8% during one season.
- One documented retrofit added about $1,618 in material costs over standard vinyl, while labor stayed similar; local energy prices shape the payback.
- Install siding over flat sheathing and an intact, taped water barrier; use fasteners roughly 2 inches long, spaced 16 inches apart, and leave expansion gaps.
- Homes with interior polyethylene, vinyl wallpaper, or closed cell spray foam face higher moisture risk, so assess wall layers before covering them.
- Repair rotted sheathing before installation, and avoid furring strips unless installers fill the cavities, or the assembly will not qualify as continuous insulation.
Table of Contents
- What Foam-Backed Vinyl Siding Actually Is
- Insulation Performance: What the Field Evidence Shows
- Installation Requirements and the Mistakes That Erase the Benefits
- What Foam-Backed Siding Costs and What You Get Back
- Pros and Cons: Quick Trade-Offs
- Maintenance and Lifespan: What to Expect Long Term
- Decision Checklist and Contractor Questions
- How We Approach Insulated Siding Projects
- Thinking About Insulated Siding for Your Home
- FAQ
- Sources
What Foam-Backed Vinyl Siding Actually Is
Standard vinyl siding is a thin, hollow plastic panel. Foam-backed siding bonds a layer of expanded polystyrene (EPS) directly to the back of each panel, rather than relying on a separate backer board installed underneath. That bonded foam layer is what gives the product its insulation value and its added stiffness.
Tested foam-backed panels typically land in the R-2.0 to R-2.8 range, which is modest compared with a full inch of rigid foam sheathing but still counts as continuous insulation under code when tested at R-2 or higher, according to Building America Solution Center guidance. In practice, that foam layer does two things for your wall:
- It stiffens the panel, so it resists warping and holds a flatter profile against the house.
- It fills small gaps behind the siding when panels fit tightly, which cuts down on air movement through the wall assembly.
Trim pieces, J-channel, and corner posts are usually thicker for foam-backed systems to match the panel profile, so expect a slightly different accessory kit than a standard vinyl job.
Insulation Performance: What the Field Evidence Shows
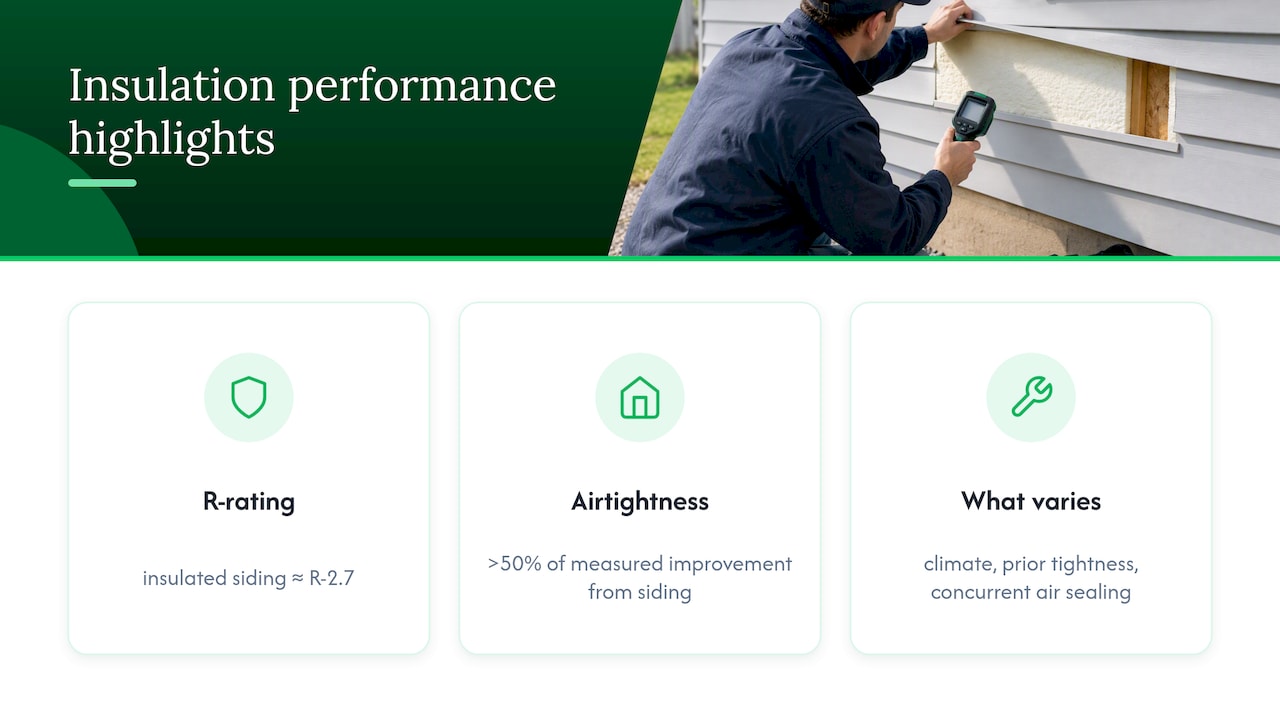
A Building America case study on a cold-climate retrofit found that insulated siding, typically rated near R-2.7, accounted for a significant portion of the total airtightness improvement measured after the project. That is a meaningful finding: the airtightness gain outpaced what you would expect from the R-value alone, largely because the rigid foam panels close small gaps that loose siding leaves open.
More than half the measured airtightness improvement in one retrofit case was attributed to the insulated siding itself, according to the Building America case study, which also recorded a moderate reduction in normalized heating-season Btu per heating degree day.
Your results will vary with climate, how tight your walls were before the retrofit, and whether a contractor does any air sealing at the same time. If your home already has a reasonably tight envelope, the airtightness gain will be smaller. Think of foam-backed siding as a cost-effective add-on for a retrofit, not a substitute for the R-value you would get from continuous exterior foam sheathing.
Installation Requirements and the Mistakes That Erase the Benefits
Foam-backed siding only performs the way it is supposed to when the wall behind it is prepared correctly. Skipping prep is the single most common reason homeowners end up disappointed.
- Install over a flat, structurally sound sheathing surface with a continuous, taped water-resistive barrier (WRB). The WRB location and flashing details matter because they control how water that gets behind the siding drains back out.
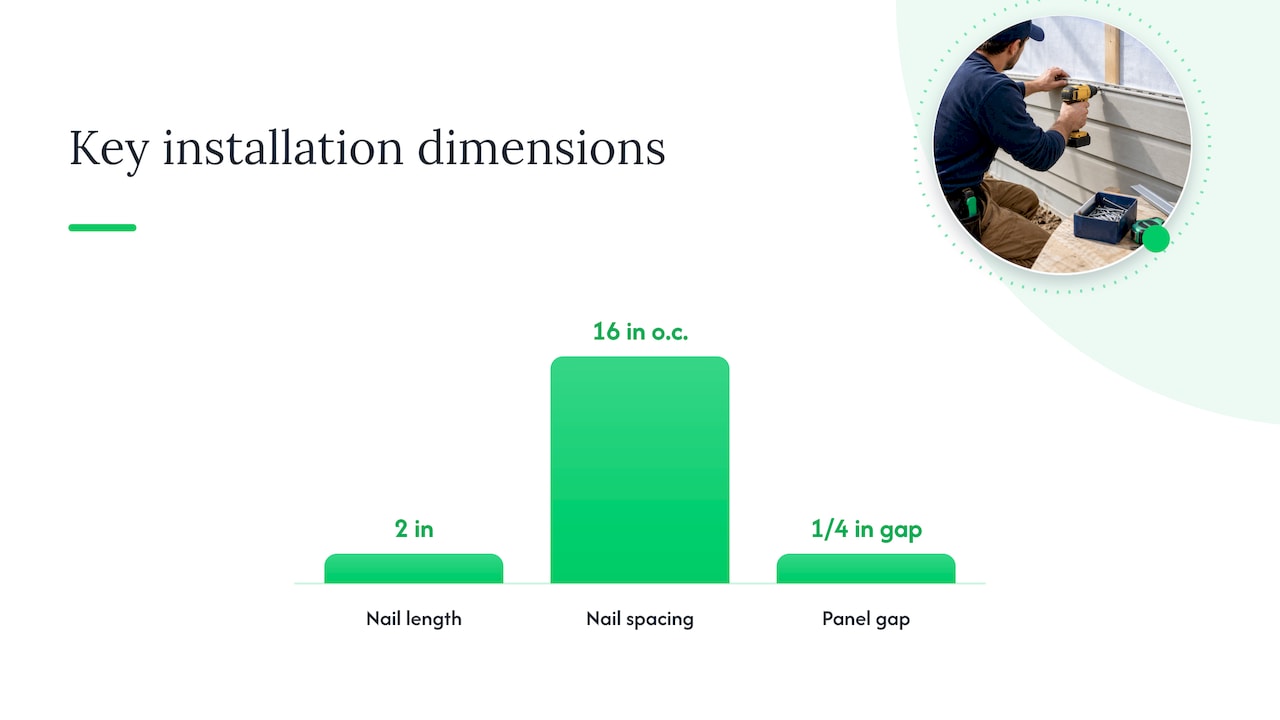
- Nail loosely, never tight against the panel, using corrosion-resistant nails long enough to penetrate the framing or structural sheathing per manufacturer guidance, which specifies roughly 2-inch nails spaced 16 inches on center.
- Leave the gap the manufacturer specifies between siding and trim, generally around a quarter inch above 40°F and slightly more in colder weather, so the panels can expand and contract without buckling.
- Check for a double vapor barrier before covering the wall: an interior polyethylene sheet, vinyl wallpaper, or closed-cell spray foam combined with exterior foam-backed siding can trap moisture inside the wall assembly, according to BASC guidance.
- Inspect the sheathing for existing rot or water damage before any panel goes up. Covering a problem does not fix it.
Pro Tip: Ask your contractor to photograph the wall before the WRB goes on. It is the only way to confirm flashing and sheathing condition after the siding is up.
The most common contractor mistakes are over-tight nailing that prevents thermal movement, gaps left at panel seams, skipped WRB repairs, and installing over furring strips without filling the cavities, which disqualifies the assembly from counting as continuous insulation under code.
What Foam-Backed Siding Costs and What You Get Back
The foam-backed upgrade carries a real material premium, but labor costs tend to stay close to standard vinyl installation.
| Factor | Standard vinyl | Foam-backed vinyl |
|---|---|---|
| Material cost (per Building America case study) | Baseline | About $1,618 higher |
| Labor cost | Baseline | Similar to standard vinyl |
| Measured normalized heating Btu reduction | Not measured in this case study | About 8% in one post-retrofit heating season |
Material costs for insulated siding ran about $1,618 higher than standard vinyl in one documented retrofit, according to the Building America case study, while labor pricing stayed comparable to a standard vinyl install.
Payback depends heavily on your climate, local energy prices, and how tight your walls already are, so a single number will not hold true for every house. Beyond energy savings, you get fewer drafts, a quieter interior, and a straighter, more rigid panel that holds up better over time. Pairing the siding with attic air sealing or insulation work or new windows tends to improve the overall payback more than siding alone.
Pros and Cons: Quick Trade-Offs
Weighing foam-backed siding against standard vinyl comes down to a handful of practical trade-offs.
- Pro: Better impact resistance and panel rigidity than hollow vinyl, according to Consumer Reports testing.
- Pro: Modest continuous insulation and reduced air infiltration when installed tightly.
- Pro: Low ongoing maintenance, similar to standard vinyl.
- Con: Lower R-value per inch than rigid foam sheathing alone.
- Con: Moisture and drying limitations if the wall already has an interior vapor barrier.
- Con: Requires more fastener and trim precision, and carries an upfront cost premium.
The cons matter most in homes with existing interior polyethylene, vinyl wallpaper, or any sign of past moisture damage in the wall cavity.
Maintenance and Lifespan: What to Expect Long Term
Foam-backed vinyl holds up at least as well as standard vinyl and often outperforms it on rigidity, since the foam backing resists the warping that thin hollow panels can develop in direct sun. Fade resistance and impact performance are comparable to quality standard vinyl products.
- Inspect flashing, caulk joints, and trim annually, especially around windows and doors.
- Check panel fit for gaps or warping after extreme heat or cold.
- Ask your contractor about replacement panel availability and what the warranty covers before you sign, since color matching years later can be difficult.
Decision Checklist and Contractor Questions
Before you commit to foam-backed siding, walk through your home’s condition and vet the installer carefully.
- Confirm your exterior walls are reasonably flat or can be made flat before installation.
- Check whether an existing WRB is present, intact, and properly lapped.
- Determine if your interior has a polyethylene vapor barrier, vinyl wallpaper, or closed-cell spray foam, since any of these raises moisture risk.
- Look for signs of past water intrusion or rot in the sheathing before covering it.
Pro Tip: Ask any contractor bidding the job how they plan to integrate flashing at windows and doors with the new WRB. A vague answer is a warning sign.
Ask prospective contractors how they will restore or replace the WRB, what fastener length and type they use given your sheathing, and whether they can show examples of similar local installs. Walk away from anyone who cannot explain their taping approach, insists on nailing tight, or skips a pre-install inspection entirely.
How We Approach Insulated Siding Projects
Experienced exterior renovation contractors understand that insulated siding performs only as well as the prep work underneath it. The process starts with an inspection, not a sales pitch: looking for existing moisture damage, confirming the WRB condition, and flagging any interior vapor barrier concerns before proposing foam-backed panels.
Manufacturer fastening and panel-fit specifications are followed on every job, because a loose nail pattern and proper gaps are what let the siding do its job for decades, not just for the first winter.
— Jeff
Thinking About Insulated Siding for Your Home
A better-fitting, more rigid exterior starts with an honest look at what is already behind your current siding, not a quick estimate over the phone. We handle that inspection ourselves, address any moisture or sheathing issues we find, and install foam-backed panels following manufacturer-compliant fastening and WRB integration from the start.

- Existing wall assembly and WRB condition should be inspected before recommending insulated siding.
- Moisture or rot issues should be addressed rather than being covered up.
- Fastening, flashing, and panel-fit details should be handled according to manufacturer specifications.
If you are weighing foam-backed vinyl against other cladding options, our exterior renovations page covers the full scope of what we handle, from siding replacement to trim and flashing work. Reach out to schedule a site inspection and get a straight answer on whether insulated siding fits your home.
FAQ
Is foam-backed vinyl siding worth it?
It is worth considering for retrofits where a full wall rebuild is not planned, since the foam layer improves airtightness and adds modest continuous insulation. Whether it pays off depends on your climate, existing wall condition, and whether the installer follows manufacturer WRB and fastening guidance.
How much does foam-backed insulated vinyl siding cost per square foot?
Published case study data does not break the cost down per square foot, but material costs ran about $1,618 higher than standard vinyl for the retrofit documented by Building America, with labor costs similar to a standard vinyl install. Ask a local contractor for a project-specific quote, since material and labor pricing vary by region.
What is vinyl siding with foam insulation?
It is vinyl siding manufactured with a layer of expanded polystyrene (EPS) foam bonded to the back of each panel, which adds rigidity and continuous insulation compared with standard hollow vinyl panels. Tested products typically achieve an R-value between 2.0 and 2.8.
What are the disadvantages of insulated vinyl siding?
The main drawbacks are a lower R-value per inch than full foam sheathing, an upfront material cost premium, and moisture risk if your home already has an interior vapor barrier such as polyethylene sheeting or closed-cell spray foam. Installation also demands more precision with fasteners and panel gaps than standard vinyl, since over-tight nailing or skipped WRB repairs can erase the performance benefits.
Can insulated vinyl siding go over any type of wall?
It works best over flat sheathing with an intact, taped WRB, and it should not go over furring strips unless the cavities are filled with insulation to preserve its continuous insulation rating. Walls with existing rot or moisture damage need repair first, since covering the problem will not resolve it.
Sources
- Building America case study: Insulated siding retrofit in a cold climate
- Vinyl siding with integrated rigid foam for existing walls | Building America Solution Center
- Siding buying guide – Consumer Reports